
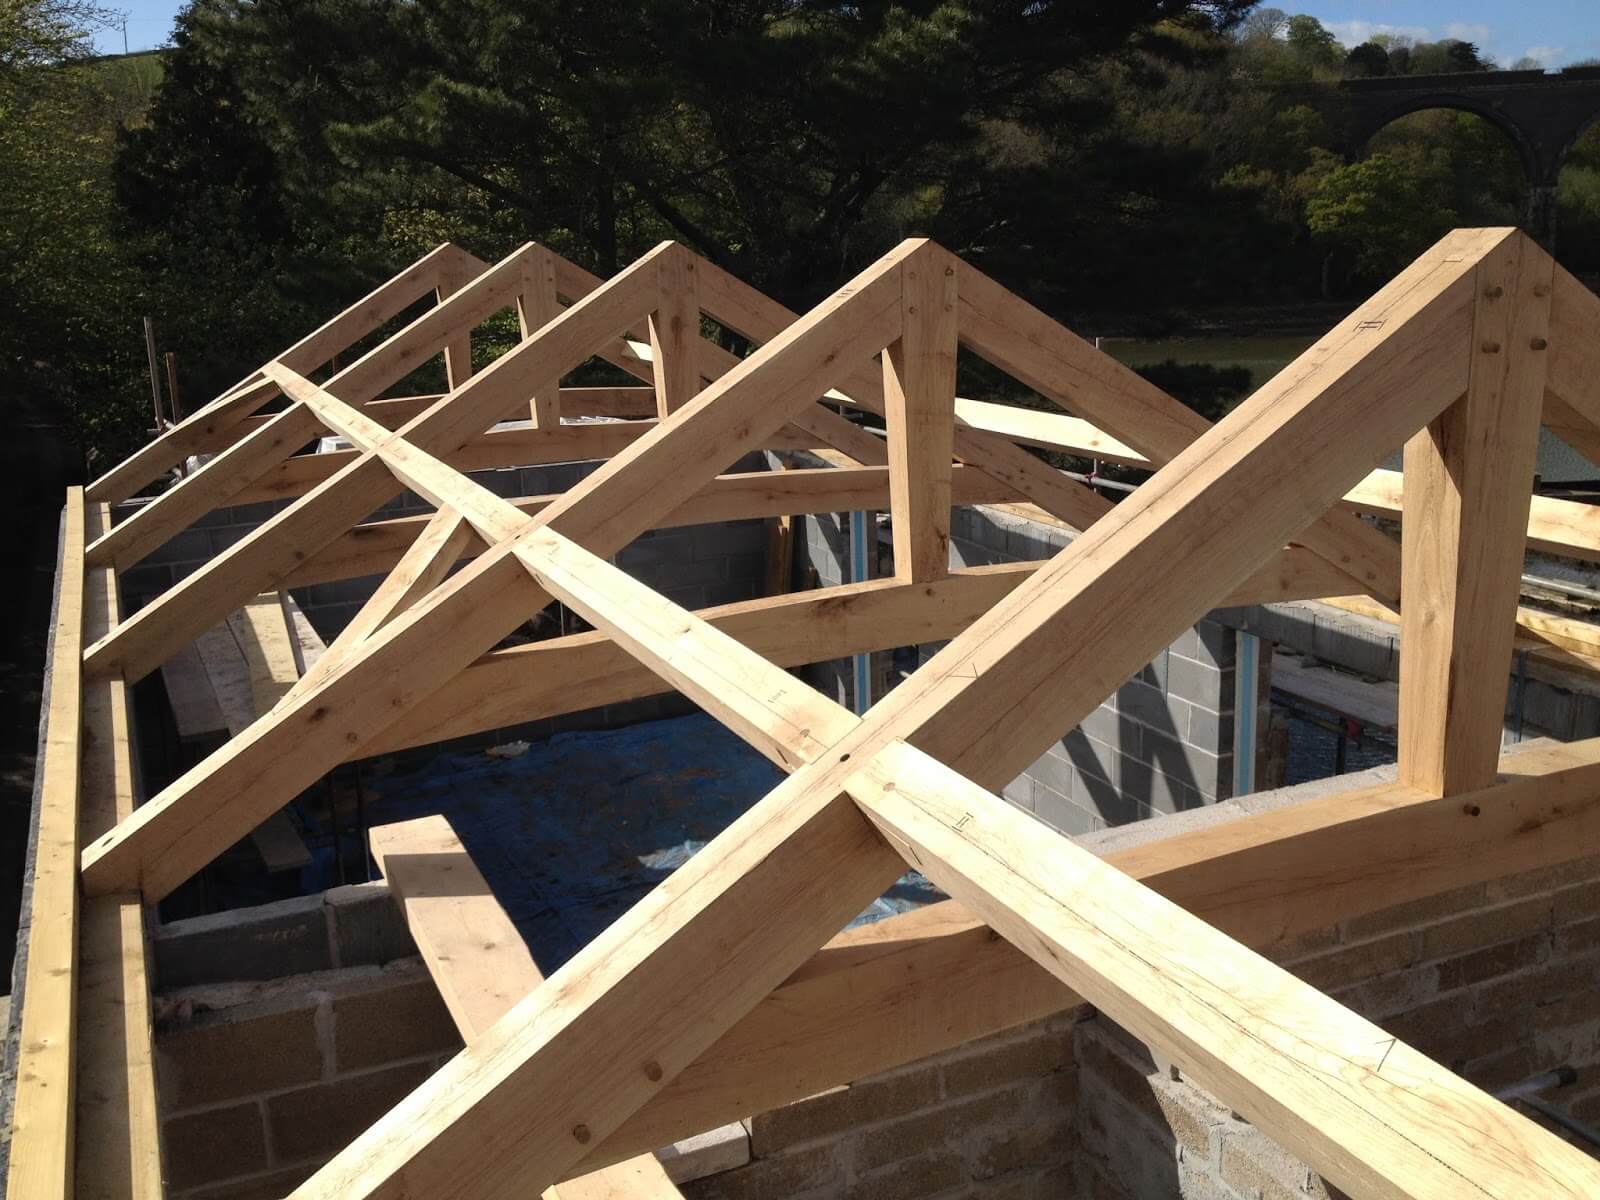
How to Build a Shed: The Roof
Are you among the people who look at professional shed builders in awe when they are working on the roof? For most of us, when it comes to building a shed, the roof seems like the most complex structure that would probably require a lot of measurement and calculation to get it right. But, believe it or not, it’s not as complex of a task as it may seem. Contrary to the popular belief, even a beginner woodworker can work and set up a roof for a shed with proper instructions.
So, if you have always wanted to build a shed but the idea of working on the roof has scared you then this is your lucky day. Let’s dive right in and learn how you can build a roof for your very own shed.
Step # 1: Gather the Materials & Tools You Would Need:
The first and the foremost step is to gather the materials and tools you would need to build the roof. It is worth mentioning here that you can either download a FREE or buy a PREMIUM SHED PLAN from our shop to get a complete list of materials tools; right from the type of nails you would need to step by step instructions on building a shed and its roof.
Here’s a brief list of the most important tools and materials you would need:
- Measuring Tape
- Clawhammer
- 4 foot level
- Power drill
- 5 inch nails
- T1-11 exterior siding
- 7/16 OSB Roof sheathing
- 25 inch galvanized nails
- Strip shingles
- Fascia board
- Sawhorse
- Step ladder
- Scissors or shears
Step # 2: Building and Installing Roof Rafters:
Remember, the steps to build a roof for any shed would remain the same as these. Let’s assume we are building the roof for a 1.4x10 lean to storage shed. Firstly, you would need to building at least eight 2x4 rafters. Each rafter should measure 4 feet and 5 inches in length and 3.5 inches in width. Remember, these rafters will hold the weight of the entire roof so they should be built using strong timber. The rafters should be placed with 16 4/5 inches apart on the frame using 3.5 inch galvanized nails.
Step # 3: Installing the Roof Sheathing:
Once you have placed the rafters, the next step is to install the roof sheathing. Nail the 7/16 OSB roof sheathing mentioned in the materials list with 3.5 inch galvanized nails on the rafters.
Step # 4: Installing the Roofing Felt
Once the sheathing is in place, the next step is to start installing the felt. The felt is importance since it will provide a layer of protection from extreme weather to the roof. Simply nail the felt on the sheathing with 1.25 inches galvanized nails and ensure that it sits flush.
Step # 5: Installing the Shingles:
After the roofing felt, you need to start installing the shingles. For most people, installing shingles is the most complicated step but if you follow these steps accurately, you will have the shingles installed in no time.
Start with laying down the starter strip shingles, as they provide a structure for the overall process for later. You will install the shingles on the roof using 1.25 inches galvanized nails. After installing the starter shingles, you will then start installing the asphalt shingles in a straight line. Make sure the shingles are sitting perfectly flush with the roof.
Step # 6: Installing the Fascia:
You are almost done. The only thing left now is to add some finishing to the roof. Install two 1x6 trims for the fascia board on the upper frame to seal off the top. Now, add exterior finishing trim after cutting them to your desired size.
That’s it! These are a couple of simple steps that you can follow in order to build your shed’s roof. If you have already worked on building a roof before then these steps should suffice. If not, then you might need a bit more help.
If you still feel confused and have no idea where to start then we recommend buying a PREMIUM shed plan from 3DSHEDPLANS.COM. These premium shed plans come with step by step instructions, 3D illustrations so you can get a complete idea of how your roof should look like and a complete list of materials and tools.
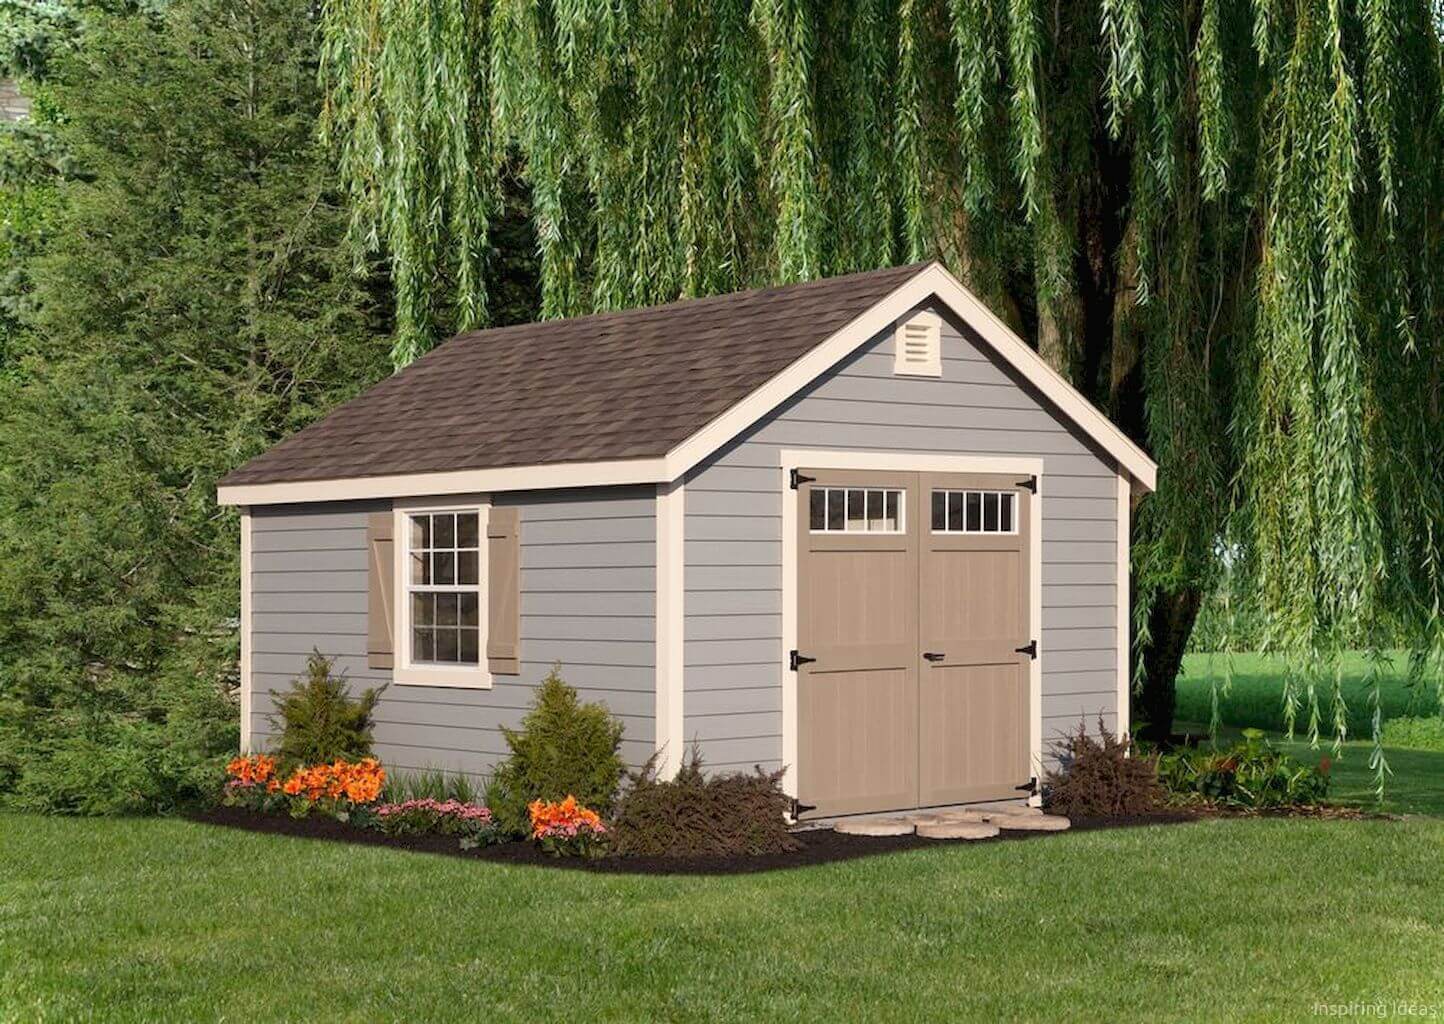
How To Build A Shed On A Budget?
Believe it or not, building a shed on a budget is actually possible. While many fret that this endeavor would cost a fortune, the truth is quite the opposite. In reality, you don’t really need to pay thousands of dollars to a professional shed builder just to attempt the feat plus the money you will spend on buying the material.
So, without much ado, let’s dive into the steps of how you can build your own shed in a week or less.
Step # 1: Pay Heed to the Requirements:
If this is the first time you are building a shed, you need to look into the following requirements:
- Does your state or region require a certain permit to build a shed or to add any structure to your house? If so, you need to fulfil the requirements before you get started.
- What purpose will the shed serve? Do you need just to shed to store your tools or do you want a shed big enough for you to spend time working on your hobbies? Once you have determined the purpose, you will be able to figure out the type of shed you require.
- What type and size of shed do you require? Sheds range from gable sheds, lean to shed and the like. They can be built in different sizes so make sure you know how big of a shed you want.
Step # 2: Choose the Type of Shed You Want to Build:
Generally, sheds come in three types. Each of the type serves a certain purpose. So, you need to have clarity on which shed type to choose. Here’s a brief of each type and their difficulty level in terms of building them yourself:
- Lean to Shed: These sheds are usually small and they lean to a wall within your garden. Lean to sheds are mostly used for storing tools and supplies.
- Gable Sheds: Gable sheds are the most popular shed type since they can be scaled to any size or for any purpose. They are standalone sheds with a gable roof; hence the name gable sheds.
- Hip Roof Sheds: Probably the most expensive and tough to build sheds! Since these sheds have a hip roof, they might be tough to build for beginners. If you are just starting out with woodworking, we wouldn’t suggest you opting for a hip roof shed.
Step # 3: Collect the Tools & Materials
You will need a long list of tools and materials. But, don’t worry, it wouldn’t cost you your wealth. Here is a small list of tools and materials you would require:
- Hammer
- Clamps
- Nail gun
- Drill
- Tape measure
- Saw
- Chalk line
- Level
- Drill bit set
- Stepladder
- Router
- Sawhorses
- Speed square
- Tin snips
Tip: We would recommend you download one of the FREE SHED PLANS from our website or buy a PREMIUM SHED PLAN from our shop which would hardly cost you a few dollars but will give you a complete list of tools and materials you would need for the building process.
Step # 4: Start from the Foundation, All the Way to the Roof:
Laying a solid foundation is the core to building a solid shed. You will be using 0.74 inches thick tongue and groove plywood with 2 inches screws and struts to join them together.
Once the foundation and flooring has been laid down, start building the walls. Make sure you leave space for the door and the windows. You can use a 3x3 window and a single door. Use 1.5 inches galvanized nails to attach the walls to the foundation. Use T1-11 to cover the walls.
Step # 5: Start Working on the Roof:
Building the roof might not be as difficult as it seem. You simply start working with timber trusses and then add rafters to it. You can either buy already built rafters and trusses or you can build them yourselves in accordance with your roof’s requirements.
As for the shingles, we recommend using asphalt shingles as they are the most durable and affordable ones. In addition, asphalt shingles are also quite weather resistant so they will prolong the life of your roof.
How To Build a Shed: Flooring
Building a shed by yourself might seem like a daunting task but it isn’t really. You don’t have to pay thousands of your hard earned dollars to have a professional make it for you. With little help, even a newbie woodworker can get the job done. Want to know how? Well, let’s find out.
For most woodworkers, the two most complex parts of a shed are the foundation/flooring and the roof. While the roof is a lengthy process altogether and can be learned later on, the foundation is the first step of building your shed. Therefore, it is important that you start with learning how to build the foundation before we move on.
Let’s start with assuming that you are building a 12X18 lean to shed. The steps would remain the same for every shed size just the dimensions would change.
Step # 1: Build the Foundation:
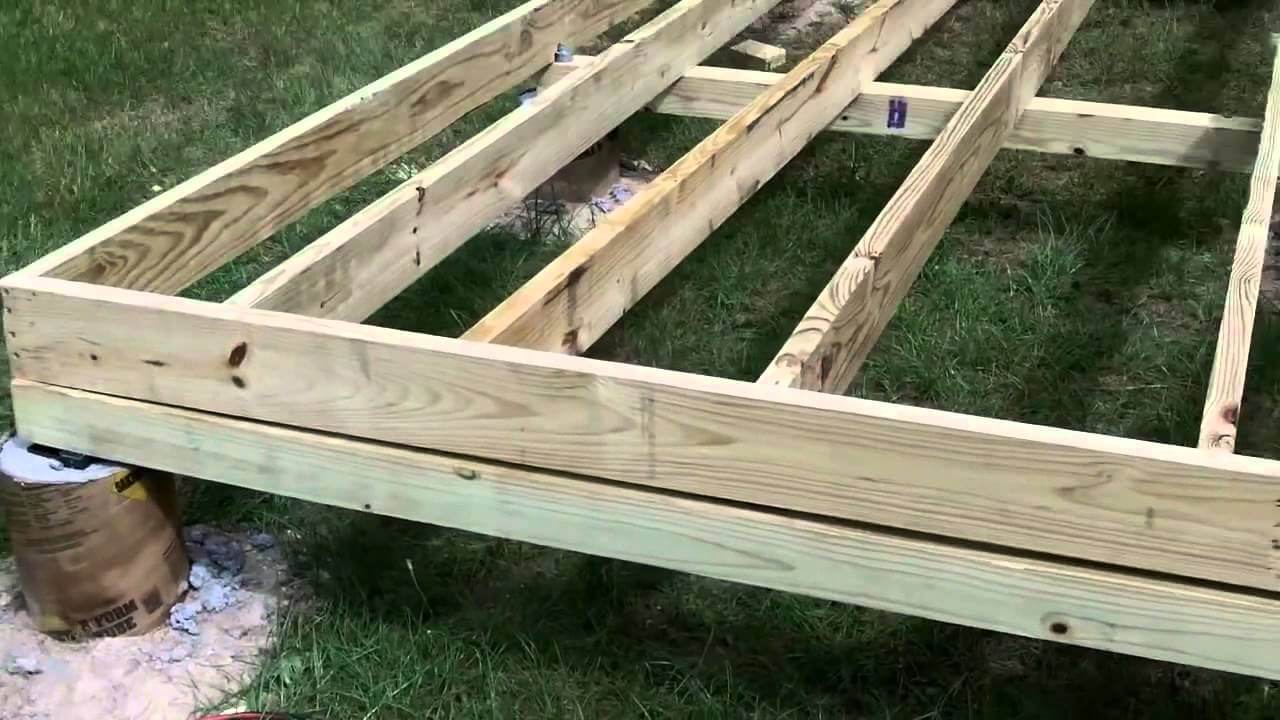
You need to have treated timber joists and galvanized nails. You can either get the timber sized as per your requirement from a local hardware store or do it yourself. Next step is to simply place the timber joists together and nail them with galvanized nails.
Step # 2: Adding the Skids:
Once your foundation has the basic layout, you will now add skids to it. You would simply require 4x4 to feet pressure treated timber skids. Simply fix them below the bottom of each floor frame with a gap of 3 feet 6.75 inches. You will now need to use 6 inch long bolts to nail through the skids.
Believe it or not, your foundation is ready now. The next step is to add flooring to it.
Step # 3: Understanding Your Flooring Options:
When it comes to flooring, there are three major options you have:
- Timber floor boards
- Plywood
- OSB (Oriented Strand Board)
Most professionals, including us, prefer using tongue and groove plywood since it is easy to install and is less prone to damage.
Step # 4: Cutting the Plywood:
We prefer buying 0.74 inches tongue and groove plywood. Simply cut six 4 x 8 feet and one 2x4 feet of 0.74 inch tongue and groove plywood. This should be fairly easy if you have a proper saw.
Step # 5: Adding the Plywood to the Foundation:
Once you have the plywood cut, next step is to start attaching it on the foundation. Do this by simply nailing the tongue and groove plywood’s edges to the foundation with 2 inches galvanized nails. Also, nail the areas where the joists lie under the foundation. By doing this, you will ensure that the plywood is concretely attached to the foundation.
That’s it! That’s how easy it is to add tongue and groove plywood flooring to your shed’s foundation.
Some Tips to Keep Your Flooring Safe & Sound:
- Make sure you have kept enough distance between the foundation and the ground. This will help any damp air to easily disperse. The timber of your foundation will stay dry and not get moist. A lot of woodworkers leave little to no space between the ground and the foundation, allowing the timber to absorb the moisture from the ground.
- Professionals also recommend adding damp proof membrane to the floor joists to keep them from dampening. You can place damp proof membrane beneath the supports of the floor joists. Again, this will help the timber to not get moist.
- Use a proper drainage system within the shed to allow any water to easily drain out. If you are putting your gardening tools inside the shed, make sure there is enough ventilation for the moisture to evaporate. If it does not evaporate, it may warp the flooring.
Building a shed foundation and flooring is not as difficult as it may seem. If you are still unable to grasp the steps, it is best to buy a PREMIUM shed plan from our shop. These plans come with a complete list of materials and tools you would require to building your shed, step by step instructions with 3D illustrations and markings so you know exactly how each step should look like and tips from professional woodworkers to help you build a solid shed within affordable rates.
How To Build a Shed: Foundation
Building a solid foundation is probably the most important aspect of any structure you build. Same is the case when it comes to building a shed. If the foundations are weak or sloppy, they will not be able to hold the weight of the walls and roof, and eventually the entire structure will be compromised.
This entire scenario makes it extremely important to select the right type of foundation and materials for your shed. Now, when it comes to foundation, there is a lot of information you will need to absorb. So, we have tried out best to trim down the information to only the most important bits that would help you in your endeavors.
Note: We will be building the foundation of a 4X8 lean to shed in this article. The steps remain the same for any size of foundation only the dimensions will change.
Step # 1: Know the Types of Foundations:
Let’s start off with understanding the different types of foundations you can build:
Flat Ground:
Obviously, a lot of young woodworkers believe that building the shed right on the ground would be the easiest way; after all building a timber foundation could be tough. However, this is not the case. Building up your shed on flat ground will not only expose it to dirt and other natural foes such as insects and the like.
Gravel:
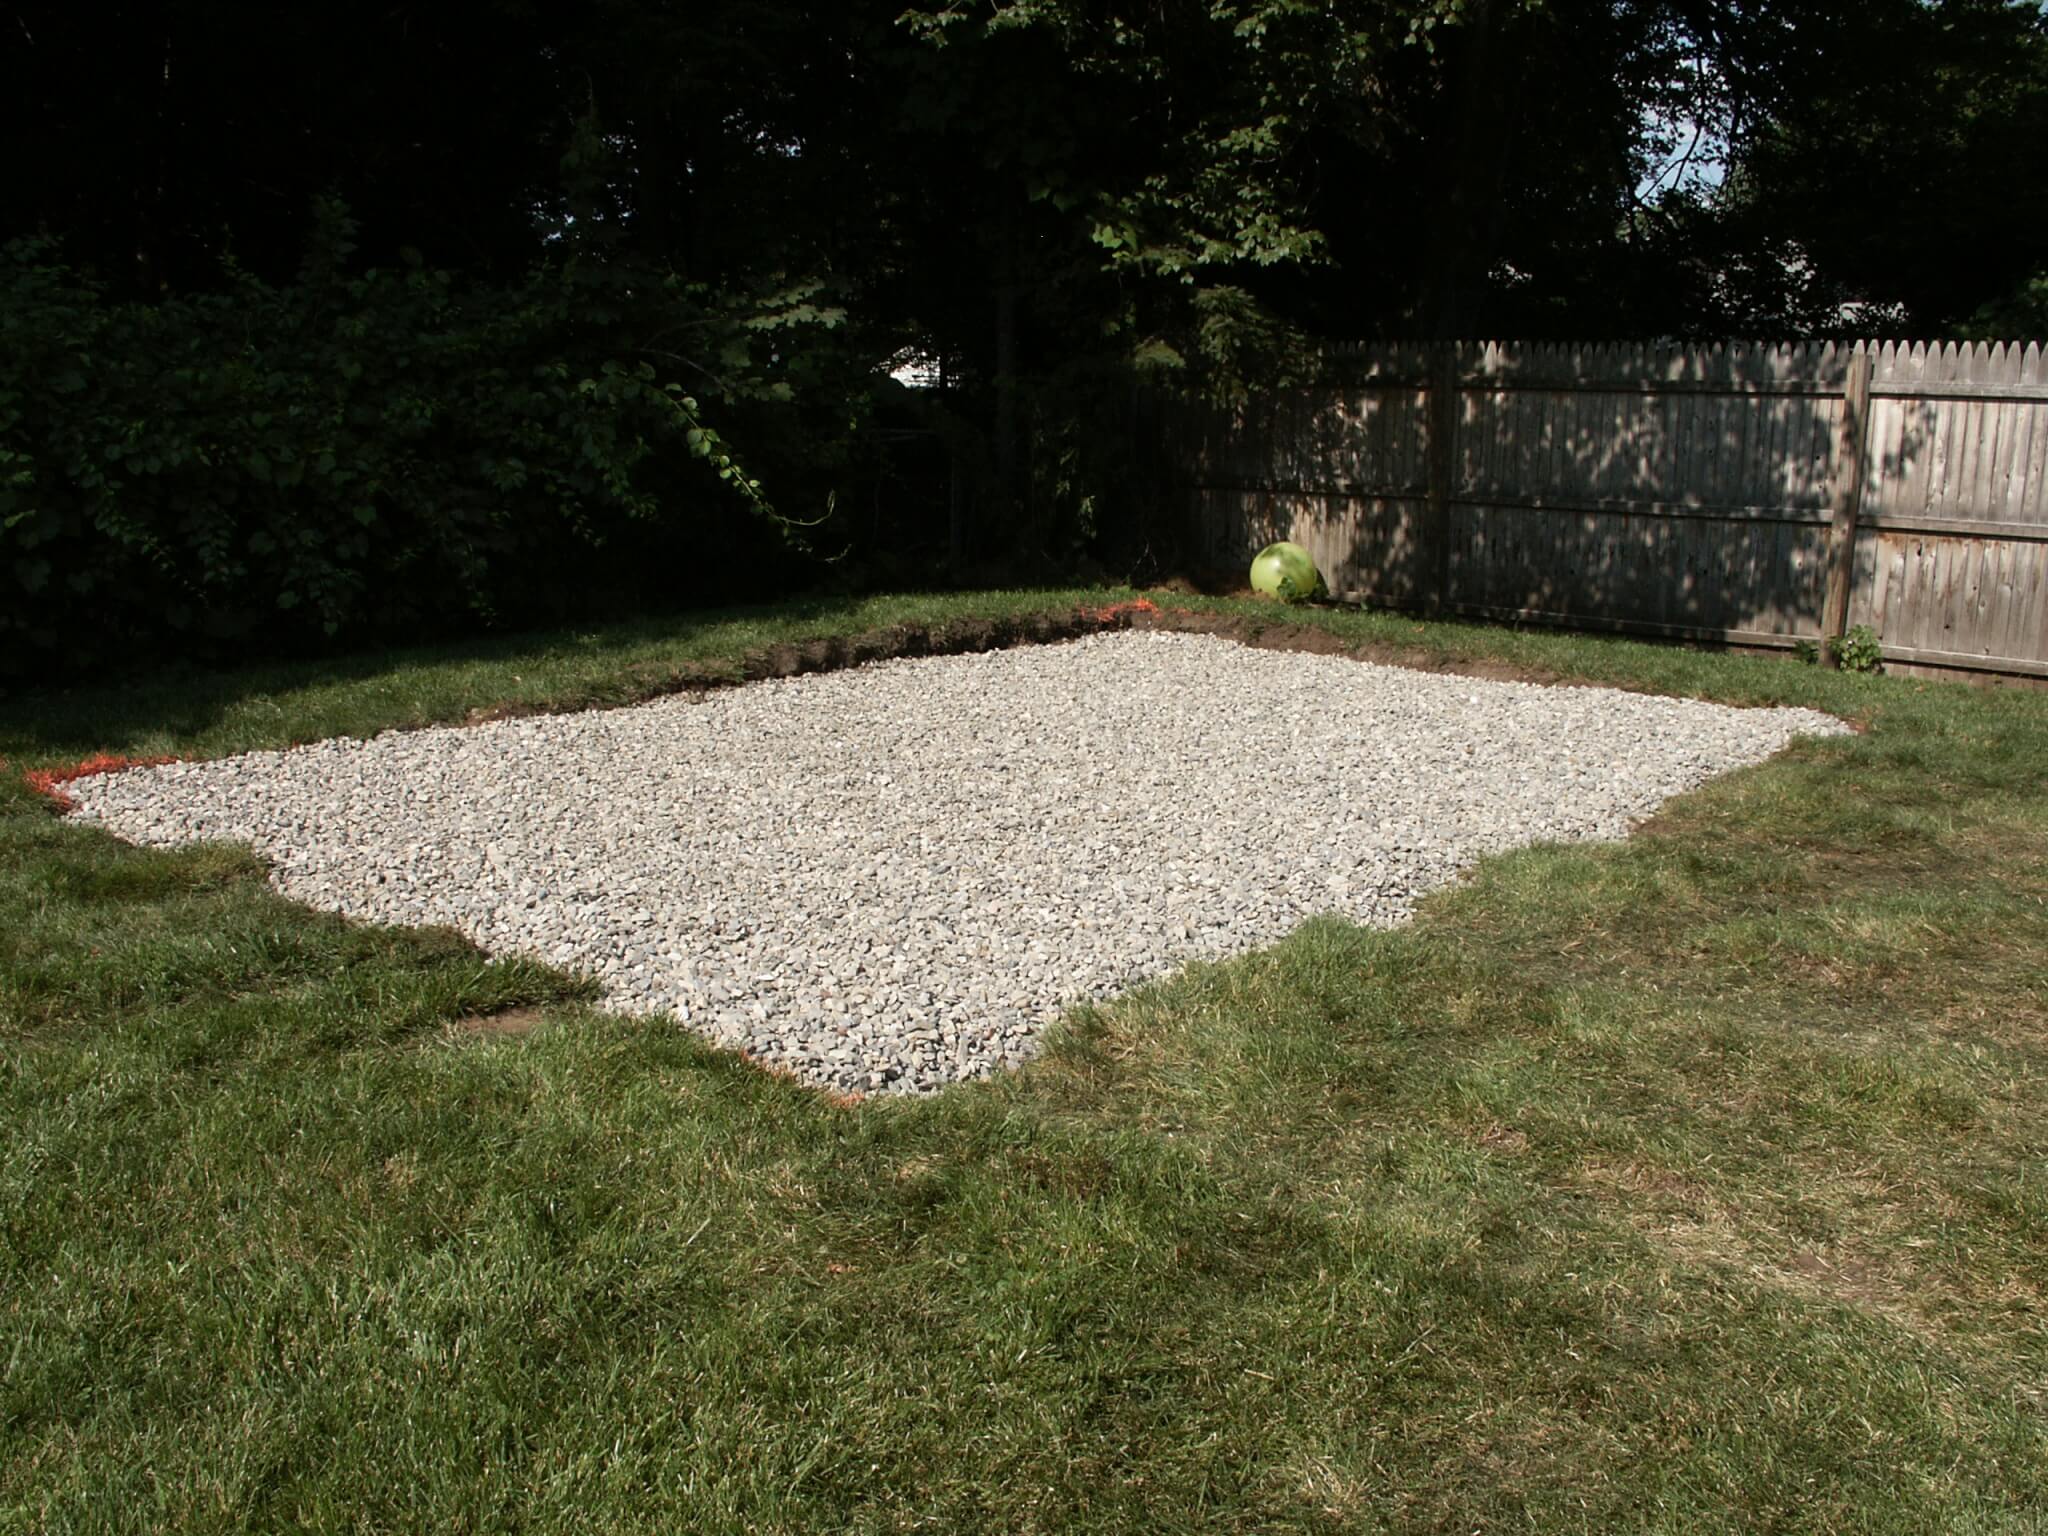
Another option you have is building your shed on stone gravel foundation. This might seem like an easy way out but could be expensive and not worthwhile. Again, your shed walls will be independently standing on a foundation, which could make them prone to falling out.
Timber Frames
Every shed builder would most probably opt for a timber frame. You may ask why? There are numerous reasons why building a timber foundation is the best option:
- It is strong and will keep your shed from falling apart
- A timber foundation with solid plywood flooring will keep insects and other natural foes from entering your shed.
- It will be cheap and easy to build. Also, if you properly follow a shed plan such as the ones on 3dshedplans.com, you can build a solid and concrete timber foundation that will last you for ages.
Keeping this in mind, we will be talking about building a timber foundation for your shed in this article.
Step # 2: Start Collecting the Materials & Tools
Deciding on the tools that you would require for building the foundation can be tough. But don’t worry, we got you covered. Here is a small list of tools and materials you will need to start building your timber foundation:
- Hammer
- Clamps
- Nail gun
- Drill
- Tape measure
- Pressure Treated Timber
- Saw
- Chalk Line
- Drill Bit Set
- Level
- Galvanized Nails
- Joists and Skids of Timber
Note: If you want a complete list of dimensions, tools and materials then it is better to download a PREMIUM PLAN from 3DSHEDPLANS™. The plans come with step by step instructions on building the foundation, complete list of materials and tools and even 3D images to visually guide you through the process.
Step # 3: Building the Joists and Skids
If you are unable to build the joists and skids yourself then it is best to buy it from a hardware. If you want to build them yourself then use 1.5 x 5.5 pressure treated timber to build the joists and use 3.5 inch galvanized nails to bind them together.
Step # 4: Cutting the Skids:
Once the joists are attached, the next step is to build the skids. Use pressure treated 3.5 x 3.5 inches floor skids. Again, you can skip this step by buying these skids from a local hardware store. Both skids will be placed under the foundation for support.
Step # 5: Add Flooring:
Your foundation is almost ready. You simply need to add flooring to the foundation to make it concrete. Use 0.74 inch tongue and groove plywood for the flooring.
That’s it! This is how easy it is to build a solid timber foundation for your shed. If you are still confused and you need more guidance then we suggest to get PREMIUM plans from us and start building with ease. These plans come with the exact measurements and professional tips to help you go through the process.
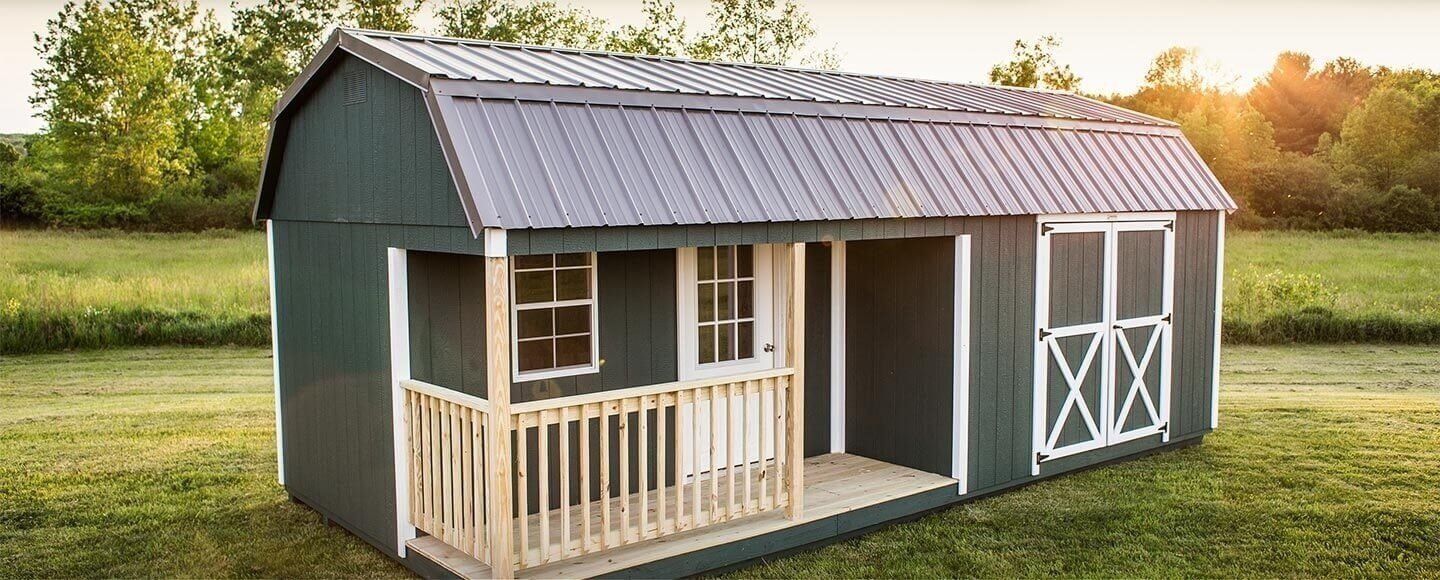
Top 10 DIY Shed Building Tips
Most professional builders would advise you against building your own shed. But, believe it or not, you can do a pretty good job with little to no experience of woodworking, especially if you have a shed plan handy. But, there will still be times when you would wonder about the lengths you can go to with your shed. This is where most young woodworkers would be distracted. Since you won’t have much experience in the arena, you would find yourself going through a plethora of options. This wouldn’t help you much. Stick to the plan and execute it. That’s how simply it should be.
So, to remove any doubts that you might have, here are top 10 shed building tips from professional woodworkers. In case you find yourself wondering, go through these 10 tips and all your questions would be answered:
-
Building the Foundation - The Easiest is Not Always the Worst:
Of course, most people would think that the easier the task is, the less important it would be. This might be true generally but in this case it is not. In fact, when you are building your shed’s foundation, simple pressure treated timber would do the job better than anything else. Most woodworkers would blind you with their tactics, recommending you materials that would be costly just to create an impression, but leave them be. Use pressure treated timber and tongue and groove plywood for your foundation and flooring and it will be a good solid shed foundation. Additionally, you can cover it with any anti-dampening layer to keep it safe from moisture.
-
Define Your Shed Beforehand
Before you even start building the shed, you need to know exactly what you want. Sheds come in all types of varieties and sizes; lean to shed, gable shed and hip roof sheds to name a few. The sizes can range from as small as 4x6 to as big as 14x16. It all depends upon the tasks and functions you want the shed to perform. Smaller lean to sheds are ideal for storing supplies while bigger gable sheds can be used for setting up leisure space and the like.
-
Floor & Wall Measurements Should Be Precise:
You wouldn’t believe it but even an inch of difference can make the whole shed unstable. Once you have built the foundation, you will start working on the walls. For most new woodworkers, building the walls is the easiest tasks compared to the foundation and roof, but it needs precision. If you are planning to buy a shed plan, make sure it has exact measurements of the walls. You don’t want to end up with an even roof.
-
Use Temporary Brackets to Set Up Walls
Another mistake most new woodworkers make is installing the walls on the foundation without testing them. You might be wondering how you can test the walls. It’s simple – use temporary brackets to set up the walls on the foundation. If the measurements are perfect and the walls seem to be in the precise shape as you want, you should then remove the temporary brackets and install the walls permanently.
-
Always Think of Air Circulation
Regardless of the size of your shed, there should always be a window and a door in opposite direction. This would allow for good air ventilation within the shed. Whether you are storing gardening supplies or you are building the shed for your leisure hours, air ventilation will be important to let out the humidity and moisture that would otherwise dampen the shed’s timber.
-
Use Low Maintenance Materials
The whole idea of building a shed yourself is to save money. While doing so, you wouldn’t want to spend a fortune on high-end materials when the cheaper ones would do the job better. For the wood, use pressure treated timber. For roof shingles, use asphalt shingles as they are quite resistant against extreme weather conditions.
-
Sidings Should Be Installed on the Walls Beforehand
One of the most common mistakes people make is of installing the walls on the foundation and then adding siding to it. This would not only make the job more difficult but would also compromise the durability of your shed. It is better to first install the siding neatly on the walls and then erect them on the foundation.
-
Preparing the Site
While this might not be the case for everyone, it is a good idea to inspect the site carefully before building a shed there. By inspecting, we simply mean to check if the site has issues like water logging, insects, roots of plants and the like. If so, you can either remove them or find another spot for your shed. You wouldn’t want the moisture warping the timber of your shed or the insects crawling in.
-
Use Trusses for the Roof
Any professional woodworker would advise you to use trusses for your roof instead of building the roof rafter by rafter. When you use trusses, you build a layout for your roof rafters and then install the rafters. This way, the chances for any miscalculation of measurements is reduced and the roof is more solid than without the trusses.
-
Finishing Touches are More than Just Embellishment
Finishing touches such as painting the outside of your shed and adding drywall inside the shed would help in keeping your shed safe from moisture and other extreme conditions. Also, don’t forget the water drainage system. Don’t spend a lot on it – just make sure that waterlogging does not occur inside the shed. Since the structure is built of mainly wood, water logging could create problems.
Whether you are a professional woodworker or this is the first time you are building a shed, it is best to follow shed plans from professional woodworkers. You can buy one of the shed plans from 3DSHEDPLANS. These plans come with a complete list of materials, step by step instructions and 3D rendered diagrams of each step of the plan to help you through.