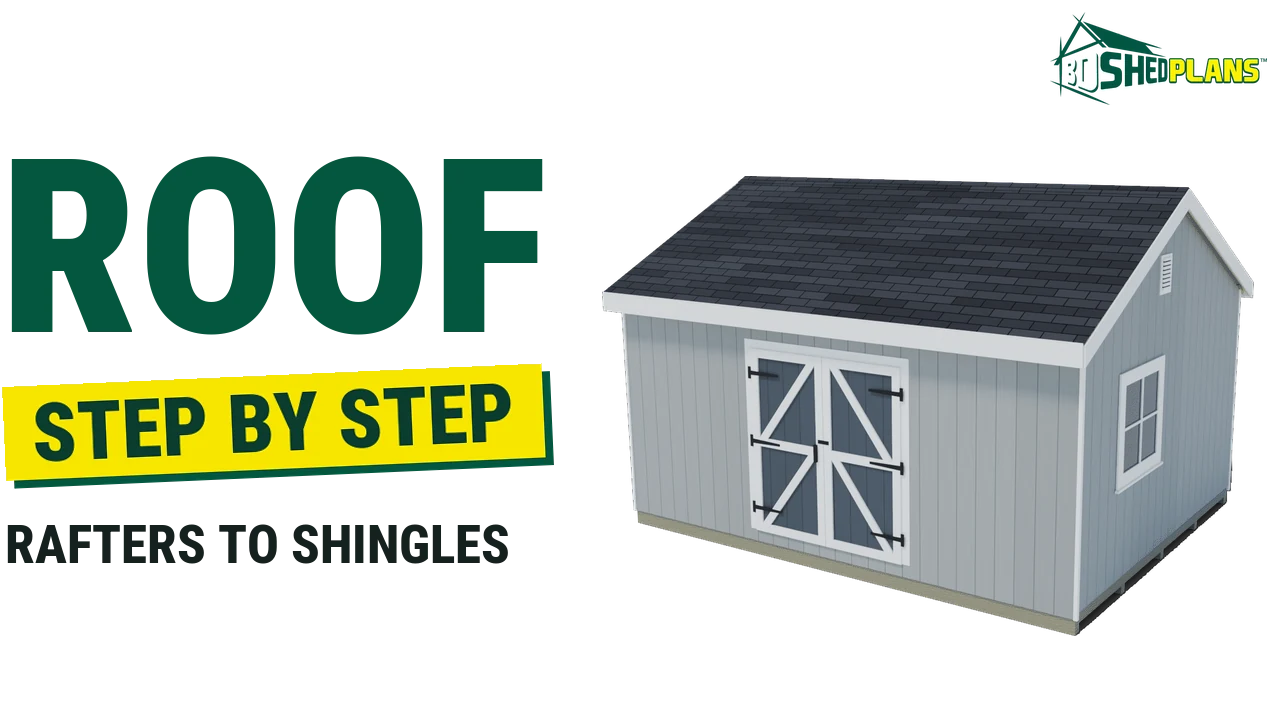
Here is how to build a shed roof: mark the rafter layout on both wall plates, cut and test one pattern rafter, set the ridge board and the end rafter pairs, fill in the rest, then add rafter ties, collar ties and hurricane ties. Sheathe it with OSB, add drip edge and underlayment, and shingle from the eave up.
This guide covers the gable roof, the two-slope roof on most backyard sheds and on most 3DSHEDPLANS gable shed plans. The worked numbers come from a 10×12 shed (10 ft deep, 12 ft wide) at a 6/12 pitch with 2×4 rafters at 16 in on center. For a single-slope roof, read how to build a lean-to shed.
How to build a shed roof: pitch, tools and safety
Pitch is rise over run: a 6/12 roof rises 6 in for every 12 in it runs level. Many gable sheds use 4/12 to 6/12. Steeper roofs shed water and snow faster and give more storage overhead, but need longer rafters and are harder to stand on. Below 4/12, asphalt shingles need extra underlayment.
Tools: circular saw, speed and framing squares, tape, chalk line, 4 ft level, hammer or nail gun, two stepladders, utility knife, tin snips and a helper.
Safety: work from ladders and the wall plates while framing, wear shoes with grip, and stay off the roof when the OSB is wet or frosty. Shed size, height and roof rules vary by town, so check your local permit office before you build.
What sizes and quantities does a shed roof need?
Rafter size depends on the span, the spacing, the wood species and grade, and the snow load. You can check a size for your span with the American Wood Council span calculator, and check your local permit office for the design snow load in your area.
Here is what the 3DSHEDPLANS plan generator buys for the roof of four gable sheds at 6/12, rafters at 16 in on center. Your own plan’s material list is the one to shop from.
| Gable shed (deep x wide) | Rafters | Ridge board | 7/16 in OSB sheets | Shingle bundles (3-tab) | Felt rolls (15 lb) | Drip edge (10 ft) | Hurricane ties |
|---|---|---|---|---|---|---|---|
| 8×8 | 14 x 2×4, 5 ft 3 1/2 in | 2×6, 8 ft 8 in | 4 | 4 | 1 | 5 | 14 |
| 10×12 | 20 x 2×4, 6 ft 5 in | 2×6, 12 ft 8 in | 7 | 7 | 1 | 6 | 20 |
| 12×16 | 26 x 2×4, 7 ft 6 3/8 in | 2×6, 16 ft 8 in | 9 | 10 | 1 | 7 | 26 |
| 14×24 | 38 x 2×6, 8 ft 8 3/4 in | 2×8, 24 ft 8 in | 14 | 17 | 2 | 10 | 38 |
Rafter lengths are cut lengths, overhang included, plus 4 fly rafters per roof. Bundles include starter and ridge cap. The 14 ft deep shed steps up to 2×6 rafters and a 2×8 ridge, spliced over a rafter pair. Our shed material list guide shows how to turn a list like this into a lumberyard order.
Step 1: Lay out the rafters on the wall plates
Start at the same end of both long walls (the eave walls). Hook your tape on the end of the top plate, mark 15 1/4 in, then every 16 in after that. Put an X on the far side of each line, so each rafter’s center sits on a 16 in mark.
Mark both walls from the same end, or the rafter pairs will not meet across the ridge. Copy the marks onto the ridge board, measured from the point where it will cross the end wall, not from its end: the ridge runs past each wall to carry the rake overhang (12 ft 8 in on the 10×12).
Step 2: Work out the rafter length and cut a pattern rafter
A rafter at 6/12 is 1.118 times longer than its level run, which a framing square’s rafter table lists as 13.42 in per foot of run. Here is the 10×12 math, measured along the top edge:
- Half the building depth: 120 in / 2 = 60 in.
- Take off half the ridge thickness: 60 – 3/4 = 59 1/4 in of run.
- Add the eave overhang, measured level: 59 1/4 + 8 = 67 1/4 in.
- Multiply by the slope factor: 67 1/4 x 1.118 = about 75 3/16 in, ridge plumb cut to tail.
The plumb cut at the tail adds about 1 3/4 in along the bottom edge, so each rafter needs about 77 in of board. For both plumb cuts, set a speed square to 6 on the “common” scale (26.6 degrees).
The birdsmouth is the notch that sits on the wall plate: a level seat and a plumb heel. Keep the notch no deeper than one third of the rafter width, measured square to its bottom edge. In the example the seat is 2 1/2 in and the notch is about 1 1/8 in deep square to the edge; the plumb heel reads 1 1/4 in because it is cut on the angle. A deeper notch weakens the rafter where its load comes down onto the wall.
Cut one rafter and hold it in place at both ends of the building, with a scrap of ridge stock at the top. If the seat sits flat and the top cut meets the scrap fully, trace it onto the rest. If the walls are out of square, fix the walls, not each rafter.
Step 3: Set the ridge board and the end pairs
Nail a temporary 2×4 post at each end, plumb and braced. At 6/12 in the example, the top of the ridge sits about 32 5/16 in above the top of the wall plates, with its top edge flush with the top edge of the rafters at the plumb cut. The ridge must be at least as deep as that cut, which is why 2×4 rafters get a 2×6 ridge.
Set one rafter pair at each end first, check that the ridge is level and centered and the pairs are plumb, then brace them. On a long shed with a two-piece ridge, center the joint on a rafter pair and post it until that pair is in.
Fill in the remaining pairs across from each other so the ridge stays straight. Common practice is three 10d common or 16d box toenails at each seat, and at the ridge three 16d end nails through the ridge for one rafter and four toenails for its partner. Check your local permit office for the nailing schedule in your area.
Step 4: Tie the walls together and hold the roof down
Rafter ties. A ridge board does not hold up a roof by itself. Each rafter pair pushes out on the walls, so tie the pair together at or just above the plates. The generator puts a 2×4 rafter tie on every interior pair, 10 ft long on the 10×12; the end pairs are held by the gable framing.
Collar ties. These go across the upper third of the roof, on every other pair in the example, about 44 1/2 in long on the 10×12. They help against wind and uneven loads but sit too high to stop the walls from spreading, so they never replace rafter ties.
Hurricane ties. Put a metal rafter-to-plate tie (an H2.5A type or equal) at every rafter seat, with the nails the maker specifies: 20 on the 10×12. Toenails alone resist little uplift in a strong wind.
Step 5: Frame the gable ends and the rake overhang
Each gable end gets short studs from the top plate up to the end rafter, lined up over the wall studs below, plus a center stud under the ridge. At 6/12, each stud 16 in farther in is 8 in longer, and they come in matching left and right pairs. Mark each one in place against the end rafter. Frame a bay for a louvered vent in each gable; the 10×12 list has two 8 x 12 in vents.
For the 4 in rake overhang, build a ladder: nail short 2×4 blocks to the outside face of the end rafter about every 24 in up the slope, then nail a 2×4 fly rafter to their outer ends. Nail 1×6 fascia along the rafter tails and up each rake.
Step 6: Sheathe the roof with OSB
Lay 4×8 sheets of 7/16 in OSB with the long edge across the rafters and the textured side up, starting at the bottom edge. The first sheet starts at the outside of the fly rafter, so cut it so its end lands on a rafter center. Stagger the end joints from row to row.
Leave a 1/8 in gap at panel edges and ends so the sheets can swell without buckling; APA’s builder tip on panel spacing suggests a 10d box nail as a spacer. Nail with 8d nails about 6 in apart along supported edges and 12 in apart along the rafters in between, 3/8 in in from the edges, or follow the OSB maker’s schedule.
Step 7: Drip edge, underlayment and shingles
The Asphalt Roofing Manufacturers Association drip edge guide gives the usual layer order:
- Drip edge at the eaves, nailed to the deck, under the underlayment.
- Underlayment, run level from the eave up, each course lapping the one below by about 2 in, with 4 in end laps. In cold areas, an ice and water membrane along the eaves is common; check your local permit office.
- Drip edge at the rakes, on top of the underlayment, lapping over the eave piece at the corners.
- Starter strip along the eave, overhanging the drip edge by about 1/4 to 3/4 in.
- Shingles from the eave up. Standard 3-tab shingles show 5 in to the weather, with joints offset 6 in course to course. Use 4 nails per shingle (6 in high-wind areas), 1 1/4 in galvanized roofing nails on the nail line printed on the wrapper.
- Ridge cap over the peak, exposed edges facing away from the wind that blows most often where you live.
Asphalt shingles are made for slopes of 2/12 and steeper, and between 2/12 and 4/12 they need extra underlayment, per ARMA’s low-slope shingle guide. A 6/12 roof needs one layer. Metal panels are the other common shed roof: many go over purlins or a solid deck, and each panel has its own minimum slope and screw pattern, so follow the maker’s install guide.
Common mistakes on a shed roof
- No rafter ties. The walls bow out at the top, the ridge sags and the door starts to rub. This is a classic gable shed failure.
- Sheet joints between rafters. The edge sags and shows through the shingles.
- Shingle nails above the nail line. They miss the shingle below and the tabs blow off.
- Felt left uncovered. It tears in wind and lets water through; shingle it within days.
What we checked: part counts and the 10×12 geometry come from the 3DSHEDPLANS plan generator, rechecked by hand; panel gap and nailing from APA; drip edge and underlayment order from ARMA; span checks from the American Wood Council.
Plans that fit
Each 3DSHEDPLANS gable plan is a $19.99 PDF with a full material list and 3D step-by-step images, including the roof, and each one has a free preview.
- 10×12 gable shed plan: the size in the worked example. See the roof steps first in the free 10×12 gable shed plan preview.
- The other sizes in the table: the 8×8 gable shed plan, the 12×16 gable shed plan and the 14×24 gable shed plan.
For other roof shapes, see hip roof shed plans, lean-to shed plans, or gable vs lean-to vs hip roof. Count the rest of the framing with how many 2x4s to build a shed, or browse all shed plans.
Frequently asked questions
What is the easiest roof to build on a shed?
A lean-to roof is the simplest: one slope, no ridge, no rafter pairs to match and no gable-end framing. A gable roof is a close second and gives more headroom. A hip roof takes the most angled cuts.
Should shed rafters be 16 or 24 inches on center?
Both are used. Spacing at 16 in gives a stiffer roof, carries more snow with the same rafter size and gives 7/16 in OSB more support. The worked example in this guide uses 16 in. For 24 in, size the rafters and sheathing for that spacing and check your local permit office for the snow load.
Do I need a ridge board or a ridge beam on a shed?
Most sheds use a ridge board: a 2×6 or 2×8 that lines up the rafter pairs and carries little load. That only works when rafter ties hold the walls together at the plates. A ridge beam carries the roof on posts and needs an engineered size.
Can I put shingles directly on the plywood or OSB?
Shingle makers call for underlayment, such as 15 lb felt or a synthetic, between the deck and the shingles, plus drip edge at the eaves and rakes. Below a 4/12 slope, asphalt shingles need extra underlayment, and below 2/12 they are not the right roof.
Should I use trusses or rafters on a shed roof?
Either works. Site-built trusses are rafter pairs joined to a bottom chord with plywood gussets, assembled flat on the shed floor and tipped up. Stick framing with a ridge board, as in this guide, needs no gussets and leaves more open space overhead. Follow whichever method your plan is drawn for.
Shed building guides
- 6×12 Firewood Shed Material List: Lumber, Slats, Hardware
- 4×10 Firewood Shed Material List: Lumber, Slats, Hardware
- 8×16 Firewood Shed Material List: Lumber, Slats, Hardware
- 4×8 Firewood Shed Material List: Lumber, Slats, Hardware
- 4×16 Firewood Shed Material List: Lumber, Slats, Hardware
- 4×12 Firewood Shed Material List: Lumber, Slats, Hardware