
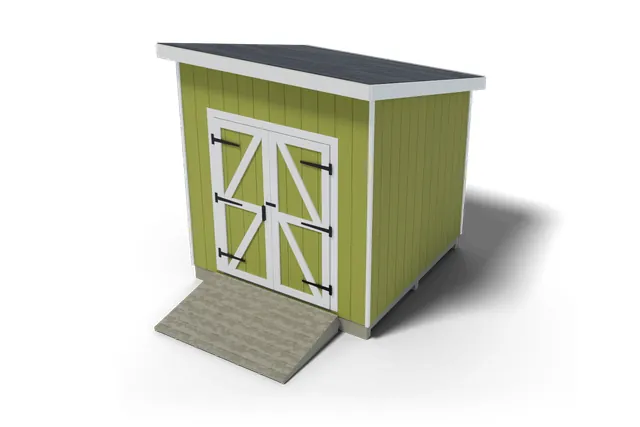
Lean-to · 64 sq ft
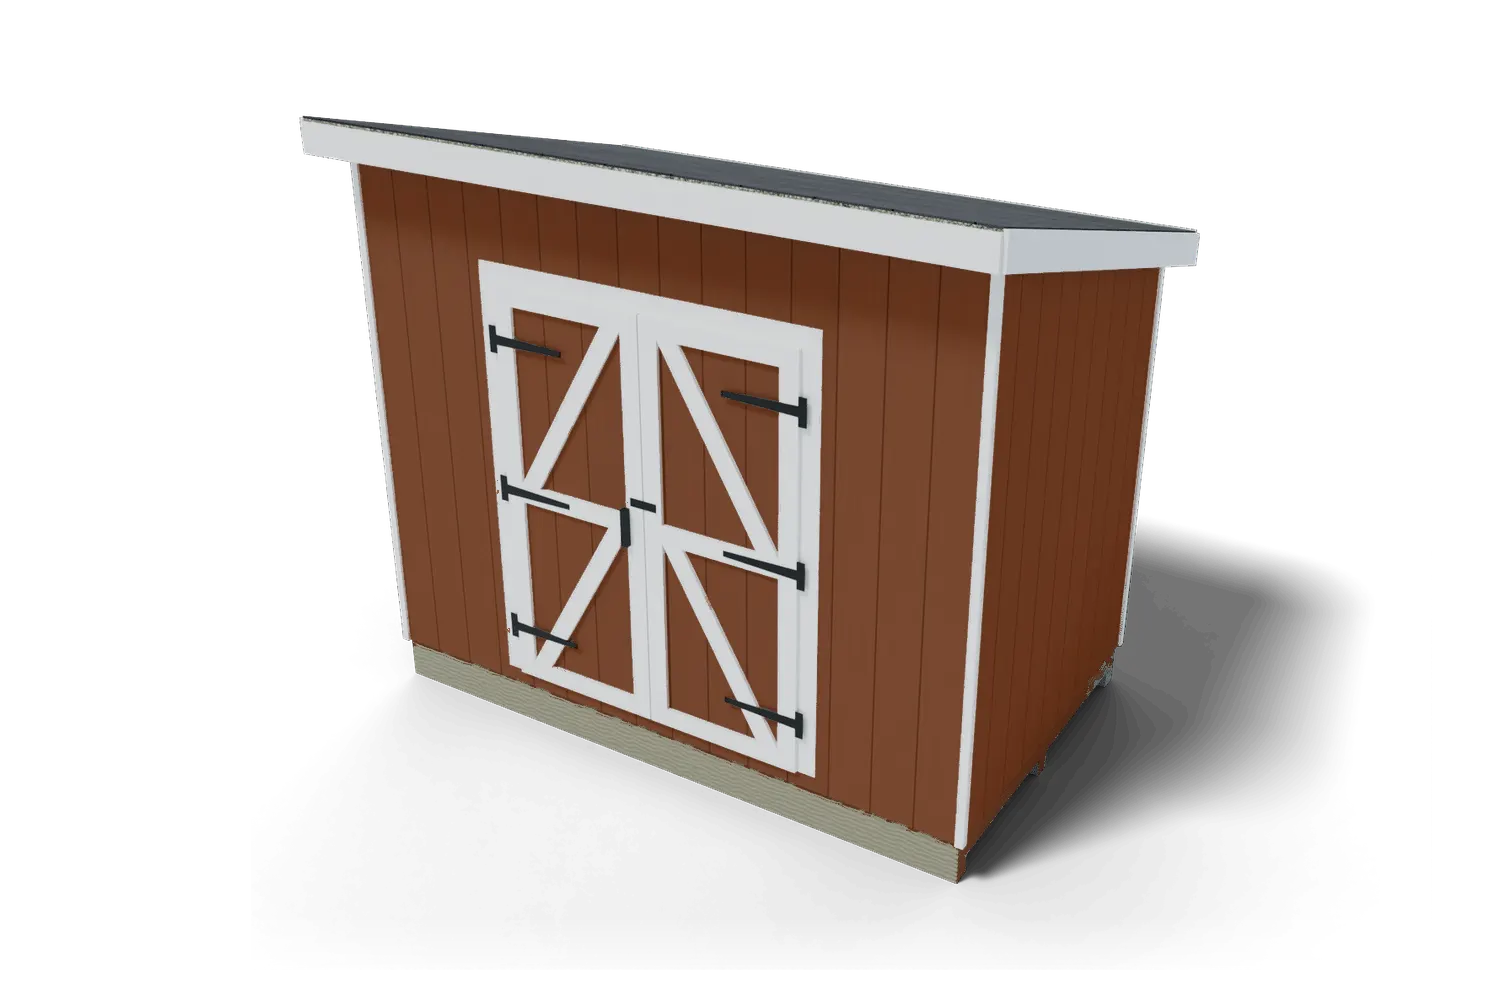
Lean-to roof · 60 sq ft
DIY 6x10 Lean-To Storage Shed Plan
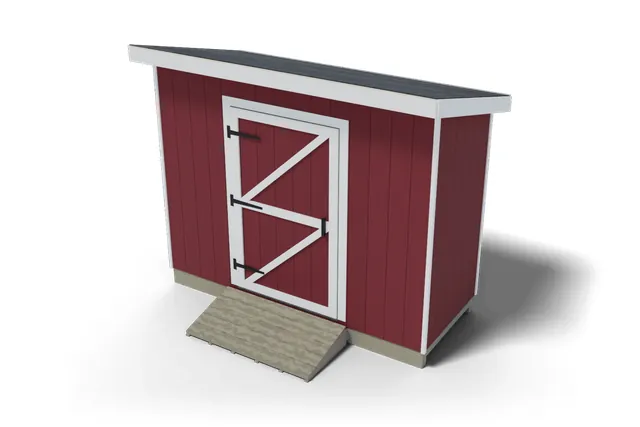
Build this 6x10 lean-to shed yourself. Every board, cut and step, drawn in 3D across 67 pages.
$19.99
$29.99−33%
- 30-day money-back guarantee
- PDF by email right after checkout
- Visa, Mastercard, Amex, PayPal
- Full material and shopping list
- Cut list with every length
- Step-by-step 3D views, 67 pages
- Phone, tablet, PC and Mac
As seen on
These 6x10 lean to shed plans from 3DSHEDPLANS build a 60 sq ft storage shed, 10 ft wide and 6 ft deep, on 4x4 skids with a 3/12 single-slope roof. It has a 5 ft double door, one window and a wheel-in ramp. The 67-page PDF has 28 sections, 19 of them build steps.
Get the full plan PDF for $19.99 or download the free preview
What builders say
We aren't DIY-savvy and needed something simple. The plan was extremely well laid out and easy to follow.
A year ago I had only built flat-pack furniture. The plans are simple to follow, and you don't need years of experience.
The illustrations are fantastic, and the shopping list helped me buy the right materials. It took me five days to build my shed.
The full plan is $19.99: buy the 6×10 lean-to shed plan. To see the drawing style first, open the free 6×10 lean-to shed plan PDF.
6×10 lean to shed plans: the numbers for a site check
| Check | 6×10 Lean-To Shed |
|---|---|
| Walls | 10′ 0″ wide x 6′ 0″ deep, 60 sq ft of floor |
| Roof footprint to the fascia faces | 10′ 9 1/2″ x 7′ 6 1/2″ (8 1/2″ eaves front and back, 4″ rakes) |
| Gravel pad | 12′ x 8′ in a pressure-treated 4×6 frame, 4″ of 3/4″ stone, about 2.1 cu yd loose |
| Floor height | Top of the deck 9 3/4″ above the ground |
| Wall heights | 8′ 1 1/8″ front (high), 6′ 8″ back (low), plates included |
| Clear height inside | 7′ 10 1/8″ at the front wall, 6′ 5″ at the back wall |
| High roof edge | 9′ 5 3/8″ above the ground |
| Door rough opening | 5′ 0″ wide x 6′ 4 1/2″ tall, double door, centered in the front wall |
| Window rough opening | 1, 3′ 0″ x 3′ 0″, centered in the back wall |
| Ramp | Detachable, 5′ 9″ wide, 3′ 6″ out, 1:6 slope |
| Crew and time | Two people, about 48 hours, plus a third for the front and back wall lifts |
The walls take 10 ft by 6 ft, but the roof sets the space you need: 10′ 9 1/2″ long and 7′ 6 1/2″ from front to back at the fascia. Measure the drip line at the back against fences and property lines, not just the walls. The ramp and its landing reach 7′ 1″ out from the front wall, so keep that side clear too.
How the 6×10 lean-to shed goes together
| Stage | What the plan uses | Time for two |
|---|---|---|
| Site and foundation | Pressure-treated 4×6 pad frame, three pressure-treated 4×4 skids on 4″ of compacted crushed stone | 4 h |
| Floor frame and deck | Pressure-treated 2×6 joists 16″ on center, 3/4″ tongue and groove plywood | 5 h |
| Walls | 2×4 studs 16″ on center, raised as bare frames, then sided with 5/8″ T1-11 | 12 h |
| Roof framing | 9 2×4 rafters 16″ on center, 2 fly rafters, blocking over both walls | 8 h |
| Sheathing and roofing | 7/16″ OSB, drip edge, double felt, 3-tab asphalt shingles | 10 h |
| Door, window, trim and paint | T1-11 double door, prefabricated window, 1×6 fascia, plywood soffit, 1×4 trim, paint | 9 h |
The plan has 28 sections plus a printable checklist. Sections 9 to 27 are the 19 build steps, from preparation and ground breaking to the ramp.
The pad frame, skids and floor
Step 9 starts with the layout: set the corner stakes and move one until both diagonals read 11′ 7 15/16″. Dig 4″ deep, then frame the pad with pressure-treated 4x6s laid flat, joined at the corners with two galvanized 10″ timber spikes each and pinned with 23 rebar stakes. The landing in front of the door is 7′ 9″ wide inside the frame and reaches 5′ 7 1/2″ past the pad. Fill the 12′ x 8′ frame with 4″ of 3/4″ crushed stone, compacted in two layers with a hand tamper.
The three skids are full 10 ft boards. They run left to right, parallel to the front wall, 2′ 10 1/4″ on center, with the front and back rims standing on the outer two. Nine 2×6 joists, each 5′ 9″ long and cut two from a 12 ft board, fill the space between the 10 ft rims. The finished frame weighs about 160 lb, so the plan has you build it on the skids, push it until both diagonals read 11′ 7 15/16″, and only then toe-nail it down. Three sheets of tongue and groove plywood cover the deck: one full row, then a last row ripped to 2′ 0 1/2″ with flat 2×4 blocks under its seam.
How the walls go up on a 6 ft deck
The front wall is taller than the deck is deep, so the order matters. The plan walks you through it with the lifters starting on the ground, 9 3/4″ below the deck, and stepping up onto it as the wall rises.
- Front wall first. Frame it flat with the bottom plate 3 1/2″ in from the front edge. Lying down it measures 7′ 11 5/8″ plate to plate, so the top plate hangs 2′ 3 1/8″ past the back edge, held level on stacks of scrap lumber or solid concrete blocks. At about 160 lb it is the heaviest lift: three people tip it up, so two stay on the frame as each one steps up onto the deck, then brace it from the outside to stakes about 5 ft out. Stop blocks on the rim keep the bottom plate from kicking out.
- Back wall turned around. With the front wall up there is only 5′ 8 1/2″ of deck left, so you build the back wall facing the other way, with its top plate hanging 1′ 4″ past the back edge. Tip it up beside the front wall and walk it upright across the deck to the back edge, lifting and swinging one end of the bottom plate at a time. About 150 lb, three people on the lift, with a diagonal brace on and the wall standing on its bottom plate the whole way.
- Side walls last. Each sloped side wall weighs about 70 lb. It is framed between the standing walls with plates 1/4″ shorter than the gap, so it drops in.
- Siding after. All four walls go up as bare frames, and the T1-11 goes on once they stand. You hang each sheet from a 2×4 ledger screwed to the floor frame, one wall at a time.
Pick a calm day. A bare frame catches wind like a sail, and nobody stands on the ground in front of a wall while it goes up.
The side walls have six stepped studs each, beveled at 14.0 degrees on top, from 6′ 5 3/8″ to 7′ 9 3/16″. The longest is longer than a 92 5/8″ precut, so buy full 96″ boards for them: the plan’s yard order counts 5. A lean-to side wall has no level plate to lap, so a twist strap ties each of the four corners.
What is on the 6×10 lean-to shed material list
The shopping list is split by stage, in the stock lengths that waste the least:
- Foundation and floor: three 10 ft pressure-treated 4×4 skids, two 10 ft pressure-treated 2×6 rims, five 12 ft pressure-treated 2×6 boards for the 9 joists, and 3 sheets of tongue and groove plywood.
- Pad and ramp: four pressure-treated 4×6 boards for the pad frame, about 2.1 cu yd of 3/4″ stone, 23 rebar stakes, and ground-contact 2×10, 2×6 and 2×4 boards for the ramp.
- Walls: 2×4 plates and studs (9 studs in the front wall, 10 in the back, 6 stepped studs in each side wall), a doubled 2×8 door header and a doubled 2×6 window header, plus 12 sheets of T1-11: 3 4×9 on the tall front wall, 3 4×8 on the back, 2 4×8 and 2 4×9 on the sides, and 2 for the door leaves.
- Roof: thirteen 8 ft 2x4s for the rafters, fly rafters and blocking, 3 sheets of OSB, 1 roll of 15 lb felt, 3 bundles of shingles and 6 pieces of drip edge.
- Door, window and trim: 6 T-strap hinges, a handle and latch, 2 barrel bolts, 2 brush sweeps, the prefabricated window, 1×6 fascia, a 1/2″ plywood sheet for the soffit and header fillers, and 1×4 casing and corner trim.
- Hardware: 18 lb of framing nails, 14 hurricane ties, 4 framing angles, 4 twist straps, 4 ground anchors, construction adhesive, flashing tape, drip cap, insect screen and 3 gallons of paint.
The longest boards on the list are the three 16 ft pressure-treated 4x6s for the gravel pad frame. After those come 14 ft boards: the back studs, the front door trimmers and the long 1x4s. Check that your trailer or the yard’s delivery can carry them. No 4×9 sheets at your store? The plan says to buy 4×10 and cut each piece to the marked height.
What you can fit in a 6×10 lean-to shed
The plan draws the floor to scale with the gear in it. Check the fit before you buy:
- Wheelbarrow and push mower. A wheelbarrow takes 2′ 2″ x 5′ 0″. A push mower with its handle folded, nose in, takes 1′ 10″ x 3′ 2″. With both leaves open the door is about 4′ 11 1/2″ clear, so they go in side by side, and the plan has you angle the wheelbarrow in wheel first toward the back left corner.
- Aisle and shelves. There is a 5′ 3″ wide aisle from the door to the back shelf. The plan draws 12″ deep shelves on the back wall; they are yours to add, and not on the shopping list.
- What does not fit. The room is 5′ 5″ deep. A 42 in deck rider is 5′ 10″ long, so it does not fit, and neither does a bike parked front to back.
- Height. Tall items stand at the front wall, with 7′ 10 1/8″ clear. The back wall has 6′ 5″ clear, so keep shelves there low.
- Window. The sill sits 2′ 10″ above the bottom plate in the back wall, so low shelves fit beneath it and get the daylight.
The ramp is 5′ 9″ wide and 3′ 6″ out at a 1:6 slope, and it hooks to a ledger at the door so you can lift it away to level or move the shed. Its top ends about 13/16″ below the deck, with an aluminum threshold cap and no threshold board, so wheels roll straight in.
How the 6×10 lean-to roof is framed
A single-slope roof has no ridge and pushes nothing outward, so no rafter ties cross the shed. Hurricane ties hold each rafter to both plates, with a framing angle at each of the 4 corners where the end rafters sit on the sloped side-wall plates.
- Why 2×4. The plan sizes the rafters as 2×4 over the 5′ 5″ clear span at 16″ on center, in #2 spruce-pine-fir or Douglas fir-larch at 30 psf ground snow. Ask your local permit office for your area’s snow load.
- Two birdsmouths. Each rafter sits on both walls with a 3 1/2″ level seat and a 7/8″ plumb heel, 24% of a 2×4’s depth. Never cut deeper than one third.
- Pattern first. Cut one pattern rafter from a straight 2×4 (board 7′ 8 5/8″), test it on both walls at each end of the shed, keep it as the first rafter, then cut 8 more and the 2 fly rafters.
- Blocking and vents. 2×4 blocks ripped to 2 5/8″ tall fill the bays over each wall, with 1″ vent holes drilled through them. Air comes in at a 1/4″ soffit gap under insect screen, rises through the holes and leaves at the high wall.
- Rakes. The end rafters are nailed up through the sloped side wall plates every 16″, and short 2×4 lookout blocks hold the fly rafters 4″ out at each rake.
- Low pitch, double felt. At 3/12 the shingle makers ask for two layers: a 19″ starter strip, then 36″ courses lapping 19″ (Asphalt Roofing Manufacturers Association). The plan then lays 18 courses at 5″ exposure, about 76 shingles, which is 3 bundles with the starter.
Anchoring the shed
The plan says an empty 6×10 on loose skids slides at about 10 psf of wind (gusts near 55 mph) and tips at about 13 psf, so it has you anchor it once the roof is on, before you fill it. It uses 4 screw-in auger anchors, 30″ or longer, galvanized, each with a steel strap: 2 along each of the two outside skids, at 1′ 0″ and 9′ 0″ from the left end. Each strap runs up the skid and onto the rim joist. Check your local permit office for what your area asks.
Free 6×10 lean-to plan PDF vs the full plan
The free version walks through the five stages with views from the plan. The full 67-page plan adds all 19 build steps, the stepped stud lengths for the sloped walls, the pattern rafter marks, the deck and sheathing piece maps, the ramp, and the shopping, cut and cutting lists.
Before you build a 6×10 lean-to shed
- Permits. Size, height and setback rules vary by town and HOA, even for 60 sq ft and a 9′ 5 3/8″ high edge. Check your local permit office before you buy lumber.
- Placing it against a wall. This plan is a freestanding shed with four framed walls, not a lean-to that bolts to the house. If you set it beside a house or fence, the low back wall faces that wall, and so do the window and the low eave. The eave already sticks out 8 1/2″ past the back wall, so leave room to reach in, paint the back wall and keep that eave clear of the house siding. Ask your local permit office whether there is a minimum distance from the house.
- Drainage. The roof drains to the back. Next to a house, that water lands between the shed and your foundation, and the list has no gutter. Slope the ground away from the house, keep 6″ or more between the siding and the soil or mulch, and keep the drip edge clear. The pad frame and stone finish level with the lawn so rain drains away.
- Snow and wind. Snow sits longer on a 3/12 roof. In heavy snow or high-wind areas you may need closer rafter spacing or larger rafters, so check your local permit office.
- Skids. Use ground-contact rated pressure-treated 4x4s (UC4A or higher), set crown up, and raise a low skid with gravel or treated shims only.
- Materials. Store lumber flat and covered, since wet wood decays faster (USDA Forest Products Laboratory Wood Handbook). Check the stamp on each OSB sheet for its span rating (APA: OSB).
Tools and ladders the plan lists
Beyond a circular saw with a rip guide, drill/driver and framing hammer, the list adds a miter saw for the door braces (set to 29 degrees) and trim, a reciprocating saw for flush cuts in the door and window openings, a 3 lb sledge for the pad frame’s spikes and stakes, two 24″ bar clamps for marking the rims, and a hand tamper for the pad. Two 6 ft step ladders cover the walls and rafters. A 16 ft extension ladder handles roof work at the high edge, about 9′ 5″ up.
Related plans
- Same 10 ft width, 2 ft shallower: the 4×10 lean-to shed plan.
- Same 6 ft depth, 4 ft narrower with a single door: the 6×6 lean-to shed plan.
- More room under the same roof style: the 8×12 lean-to shed plan.
- A small shed with a peaked roof: the 6×8 gable shed plan.
- Choosing a base first? Read the shed foundation guide.
- Every size on the lean-to shed plans page.
Shed building guides
- 6×12 Firewood Shed Material List: Lumber, Slats, Hardware
- 4×10 Firewood Shed Material List: Lumber, Slats, Hardware
- 8×16 Firewood Shed Material List: Lumber, Slats, Hardware
- 4×8 Firewood Shed Material List: Lumber, Slats, Hardware
- 4×16 Firewood Shed Material List: Lumber, Slats, Hardware
- 4×12 Firewood Shed Material List: Lumber, Slats, Hardware
Frequently asked questions
How tall is the 6×10 lean-to shed?
The high front wall is 8 ft 1 1/8 in and the low back wall 6 ft 8 in, plates included, on a floor 9 3/4 in above the ground. The high roof edge stands 9 ft 5 3/8 in above the ground, the number to check against a fence or height limit.
What door does the 6×10 lean-to shed have?
A double door of two T1-11 leaves in a 5 ft wide by 6 ft 4 1/2 in tall rough opening, centered in the 10 ft front wall. With both leaves open the clear width is about 4 ft 11 1/2 in. One 36 x 36 inch window sits in the back wall.
What fits inside a 6×10 lean-to shed?
The plan draws a wheelbarrow and a folded push mower side by side, with a 5 ft 3 in aisle to 12 in deep back shelves. The room is 5 ft 5 in deep, so a 42 in deck rider, which is 5 ft 10 in long, does not fit, and neither does a bike parked front to back.
Can I put the 6×10 lean-to shed against my house?
It is a freestanding shed with four framed and sided walls, not a lean-to fastened to the house. You can set it near a wall with the low back side toward it, but leave room to paint that wall and keep roof water away from your foundation. Check your local permit office for setbacks.
How long does it take to build the 6×10 lean-to shed?
Plan on about 48 hours for two people, with a third for the front and back wall lifts: 4 for the site and skids, 5 for the floor, 12 for the walls, 8 for the rafters, 10 for sheathing, felt and shingles and 9 for the door, window, trim and paint.
More about the 6×10 lean-to shed plan
Build Your Own 6×10 Lean-To Storage Shed With Ease!
Looking for a small yet exquisite 6×10 Lean-To Storage Shed for your lawn?Our 6×10 Shed will not only add glamor to your lawn but will also make it more functional. Being a Lean-To Shed, the roof slopes one way, so rain runs off to the back. You get an easy to maintain, sturdy and spacious lean-to shed! So wait no more – order now and start building today…
Shed Plan Includes:
A Full-Fledge Material List with Required Quantity
The materials you use to build a shed are the secrets to your success. Unfortunately, most plans out there won’t precisely tell you what to buy and in what quantity. In fact, they would lure you to buy products from the plan-sellers. Luckily, we have a completely different motto. We want you to succeed in building your dream shed. And for that, we understand how important it is to get the right materials.
Our 6×10 Lean-To Storage Shed Plan comes with an all-inclusive list of materials, hardware and tools that you would need to build the shed. Nothing more, nothing less! No click baits! You get a printable list of materials that you can take to the hardware store.
Shed Plan Includes:
Simple, Easy to Understand Step by Step Instructions
Who would have ever thought to get their hands on a shed plan that would take them through the entire process with such ease! Our 6×10 Lean-To Storage Shed Plan comes with easy to understand, step by step instructions for DIY newbies. Don’t worry if you don’t have any experience in building wooden structures. The plan takes you through it in plain words, without jargon. Right from building the foundation to the walls and even the roofing, we have everything covered for you.
Shed Plan Includes:
3D Rendered Images for Reality Check
2D images are a thing of the past! Our 6×10 Lean-To Storage Shed Plan comes with 3D rendered images, which means you get to see every corner, every angle and every inch clearly as if it is being right in front of you by a professional. You won’t have to scratch your head thinking how the shed should from the front, back or the sides. Even the rooftops are visualized in 3D for better understanding.
Building Your Own Shed vs. Getting Professional Help
1st Reason
You Save What a Builder Would Charge
Probably the most important reason for building your own shed is that you save money. A builder charges for labor on top of the materials, for work you can do yourself. With our 6×10 Lean-To Storage Shed Plan, you get clear instructions, material lists and diagrams to go through the process easily.
2nd Reason
Choose Your Own Design and Make Your Dream Come True
Don’t fall for the marketing gimmicks of most professionals out there. When you start building your own shed, the world is out there for you to explore. With our material list and instructions, you will realize that you can build your dream shed without any design restrictions. The plan is simple yet it gives you the liberty to add in your own flavor!
3rd Reason
You Will Reclaim Your House Again
Our 6×10 Lean-To Storage Shed has 60 sq ft of floor for your storage. Whether you garden or play sports, you can use the shed to keep all sorts of your equipment and tools. Besides, the shed will add an exquisiteness to your garden while fulfilling its purpose.
All the Other Reasons
This Is Exactly What You’ll Get with Your 6×10 Lean-To Storage Shed Plan!
19 step-by-step sections that guide you through the whole process.
Designed for beginners as well as for the professionals.
Explanatory 3D images so you can see exactly what to do next.
Comprehensive materials list that gives you exactly what you need.
Your plan will look great on any mobile device.
PRO-TIPS throughout the build.
High quality PDF plan with everything you need emailed to you instantly.
How to Build a 6×10 Lean-To Shed: The Steps at a Glance
This is a short overview of how the 6×10 lean-to shed goes together. The full plan PDF has 21 step-by-step sections on 67 pages, with the cut length and count of every part, a shopping list with quantities and drawings for the steps.
Step # 1: Check the Rules Where You Live
Rules for sheds, such as size limits, setbacks and permits, vary by town and HOA. Check your local permit office before you build.
Step # 2: Know the Size of Your 6×10 Shed
The shed is 10 ft wide and 6 ft deep (60 sq ft of floor). The front wall is 97 1/8″ tall and the back wall 80″, so the roof slopes 3/12 to the back. The roof peaks about 9′ 5 3/8″ above the ground. It has a double door in the front wall and 1 window (36″ by 36″ rough opening). The plan estimates about 48 hours of work for two people.
Step # 3: Get the Tools and Materials
You need basic carpentry tools: a circular saw, a speed square, a drill/driver, a framing hammer or nailer, a 4 ft level and a tape measure. The main materials are pressure-treated 4×4 skids and 2×6 floor joists, 3/4 in tongue and groove plywood, 2×4 studs, 5/8 in T1-11 siding, 2×4 rafters, 7/16 in OSB, roofing felt, drip edge and asphalt shingles. The plan’s shopping list gives the quantity of each.
Step # 4: Build the Foundation and Floor
Lay a compacted gravel pad and set the pressure-treated 4×4 skids level in both directions. Build the floor frame from pressure-treated 2×6 joists 16 in on center, square it by measuring the diagonals, fix it to the skids, then glue and screw the 3/4 in tongue and groove plywood on top.
Important Tips:
- Build the foundation where the shed will stand. Moving a finished shed is hard work.
- Clear plants and loose soil so the pad sits on flat, firm ground.
- Crown every skid up. The floor weight will flatten it.
Step # 5: Frame and Raise the Walls
- Frame each wall flat on the floor with 2×4 studs 16 in on center, with headers over the door and window openings.
- The door rough opening is 5′ 0″ wide by 6′ 4 1/2″ tall.
- Raise each wall with helpers (the plan says how many for each wall), check it plumb with a level, brace it and nail the corners together.
- Cover the walls with 5/8 in T1-11 siding. The plan gives the size of every sheet.
Step # 6: Frame the Roof
- Set the 2×4 rafters 16 in on center from the high front wall to the low back wall.
- The roof slopes 3/12 and overhangs 8 1/2″ past the walls.
Step # 7: Sheathe and Shingle the Roof
- Nail 7/16 in OSB over the rafters.
- Add roofing felt and drip edge, then the asphalt shingles. Follow the shingle maker’s instructions.
Step # 8: Door, Window and Trim
- Build the door from the plan and hang it.
- Set the window in its framed opening by the maker’s instructions.
- Add the fascia, soffit and corner trim.
Step # 9: Finishing Touches
- Paint or stain all exposed wood to protect it from the weather.
- Add shelves and hooks to suit what you store.
Want every measurement? The full 6×10 Lean-To Storage Shed Plan PDF has the shopping list, the cut list and 21 step-by-step sections with drawings.
Ready to build the 6×10 lean-to shed?
$19.99 for the full PDF: every step, cut and board. 30-day money-back guarantee.
Similar lean-to plans
All lean-to plans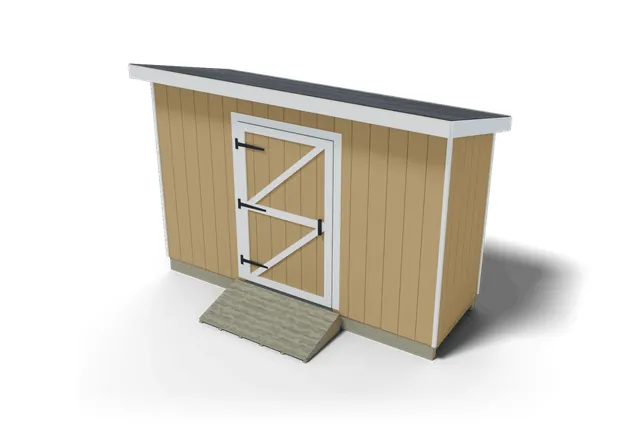
Lean-to · 48 sq ft
4×12 Lean-to shed plan
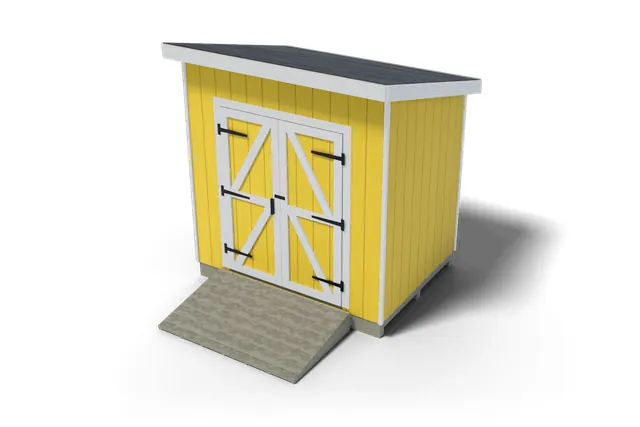
Lean-to · 48 sq ft
6×8 Lean-to shed plan
Lean-to · 40 sq ft