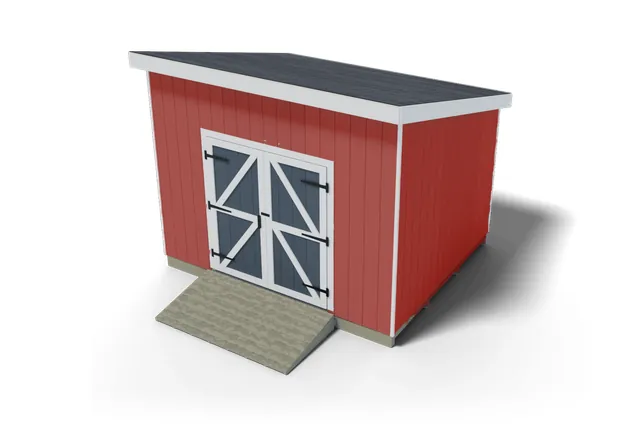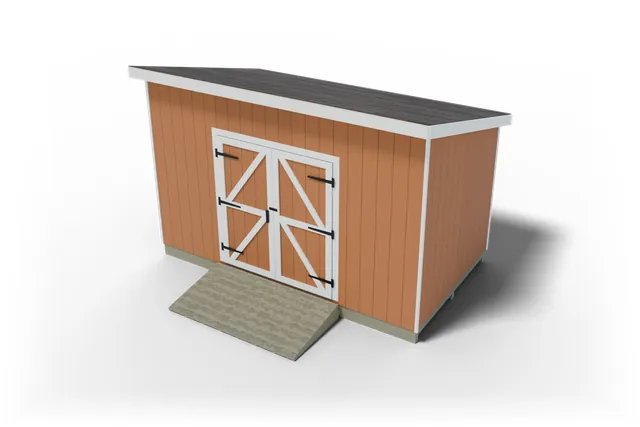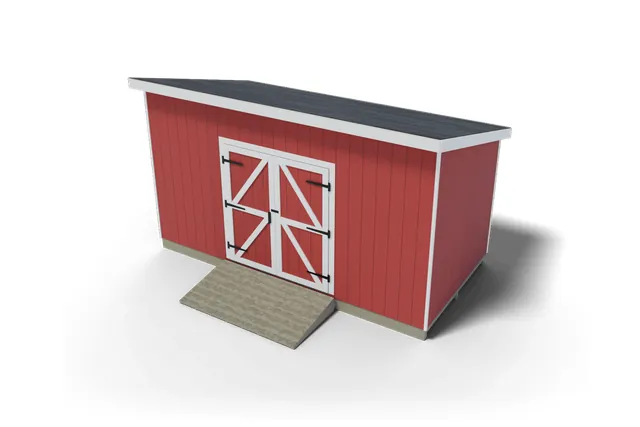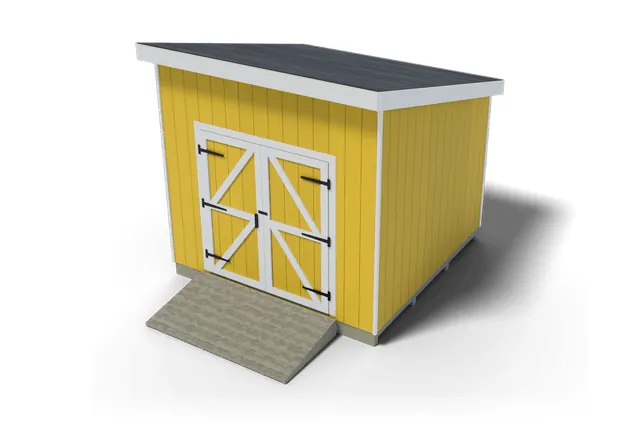
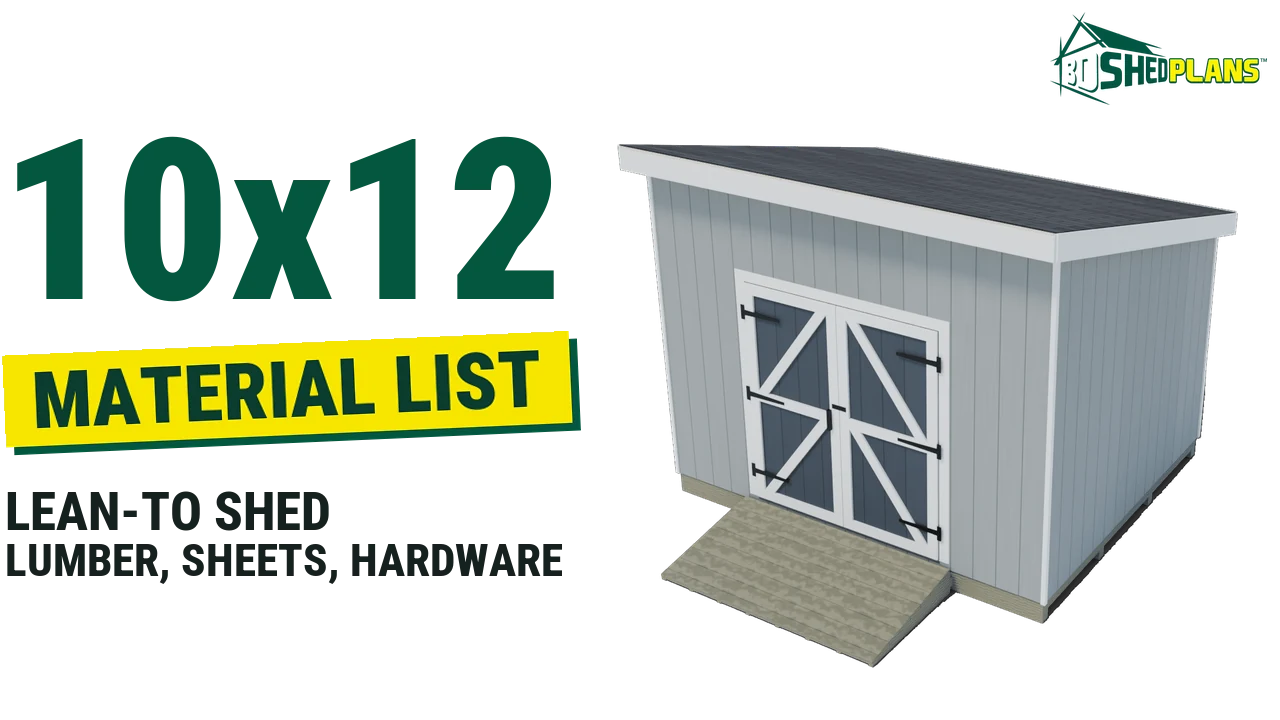
This 10×12 lean-to shed material list covers a 120 sq ft shed, 12 ft wide and 10 ft deep, with a 72 in double door and a rear window. The roof uses ten bearing rafters and two fly rafters, all from 12 ft 2×6 stock. The order includes a detachable ramp, gravel-pad frame and temporary lumber.
Use this list with the 10×12 lean-to shed plan. The PDF names which board supplies each part and shows the wall, floor and roof sheet layouts. Keep offcuts with their parent boards until the assigned shorter pieces have been cut. The optional shelves on the floor plan are separate purchases.
What the 10×12 lean-to material list assumes
The high front wall is 109 1/8 in above the floor, including the plates. The low back wall is 80 in.
Both side walls have sloped top plates and nine studs with their own marked lengths. The 3/12 roof falls toward the back, with 8 5/8 in eaves and 4 in rakes. The highest shingle edge is 10 ft 7 1/2 in above the ground.
The rough door opening is 72 in wide. Once both leaves are open, the clear width is about 71 1/2 in.
The back window has a 36 x 36 in rough opening. The ramp is 6 ft 9 in wide and extends 3 ft 6 in from the front wall. Measure the mower and its attachments before choosing the door approach.
The plan is freestanding, with four framed walls on a skid floor. It does not use a house wall as roof support. For a different foundation, compare shed foundation options; for a building connection, read lean-to sheds against a house before changing the design.
10×12 lean-to shed material list: stock lengths
Lumber sizes are nominal. A 2×4 is about 1 1/2 x 3 1/2 in, and a 2×6 about 1 1/2 x 5 1/2 in (American Wood Council). Check sheet grades and span stamps before ordering (APA trademark guide). Ground-contact pieces need the treatment rating shown on the list.
| Item | Qty | For |
|---|---|---|
| 1×2 x 8 ft | 2 | Door astragal (fixed leaf edge), Door stop (header) |
| 1×4 x 8 ft | 7 | Door Z brace (along either edge), Door casing (head, between the side casings), Door rail, Window casing (head and sill), Window casing (sides) |
| 1×4 x 10 ft | 4 | Corner trim (front corners, front face), Corner trim (front, side face, slope cut; short point 9′ 2 5/8″) |
| 1×4 x 14 ft | 5 | Corner trim (back corners, back face), Corner trim (back, side face, slope cut; short point 6′ 9 1/4″), Door casing (sides), Door stile |
| 1×8 x 14 ft | 4 | Fascia (eave), Fascia (rake; both ends plumb and parallel: 11′ 11″ along either edge, length given tip to tip) |
| Pressure-treated 2×10 x 8 ft | 2 | Ramp stringer blank (two tapered stringers from each piece) |
| 2×4 x 8 ft | 14 | Back lower cripple, Back sill, Front cripple, Left wall stud, Right wall stud |
| 2×4 x 10 ft | 21 | Front wall stud, Left wall plate, Left wall stud, Right wall plate, Right wall stud, Side wall sloped top plate (left wall), Side wall sloped top plate (right wall) |
| 2×4 x 12 ft | 7 | Back trimmer, Back wall cap plate, Back wall plate, Front wall cap plate, Front wall plate |
| 2×4 x 14 ft | 7 | Back wall stud, Front trimmer |
| Pressure-treated 2×4 x 8 ft | 1 | Ramp ledger (on the rim joist and skid) |
| 2×6 x 8 ft | 2 | Back header (2×6 doubled + 1/2 ply), Blocking between rafters (over each wall) |
| 2×6 x 10 ft | 2 | Blocking between rafters (over each wall) |
| 2×6 x 12 ft | 12 | Fly rafter (rake), Rafter |
| Pressure-treated 2×6 x 10 ft | 10 | Floor joist |
| Pressure-treated 2×6 x 12 ft | 2 | Rim joist (band) |
| Pressure-treated 2×6 x 14 ft | 4 | Ramp deck board |
| 2×8 x 14 ft | 1 | Front header (2×8 doubled + 1/2 ply) |
| Pressure-treated 4×4 x 12 ft | 4 | Skid |
| Floor decking (sheet 4×8 3/4 T&G plywood) | 5 | |
| Front header filler (one piece, ripped from the 1/2 in plywood: see the plywood rip map) (1/2 plywood strip 2×8 deep) | 1 | |
| Back header filler (one piece, ripped from the 1/2 in plywood: see the plywood rip map) (1/2 plywood strip 2×6 deep) | 1 | |
| Wall siding (front, high wall) (sheet 4×10 5/8 T1-11) | 3 | |
| Wall siding (back, low wall) (sheet 4×8 5/8 T1-11) | 3 | |
| Wall siding (sloped side walls) (sheet 4×10 5/8 T1-11) | 2 | |
| Wall siding (sloped side walls) (sheet 4×8 5/8 T1-11) | 2 | |
| Wall siding (sloped side walls) (sheet 4×9 5/8 T1-11) | 2 | |
| Front wall: 1/2 in plywood for the header fillers (sheet 1 of the plywood rip map; keep the rest of it for the soffit strips) (sheet 4×8 1/2 plywood) | 1 | |
| Door leaf siding (one new sheet per leaf; the cut-out is too short) (sheet 4×8 5/8 T1-11) | 2 | |
| Roof sheathing (sheet 4×8 7/16 OSB) | 6 | |
| Roofing felt (double layer below 4/12) (roll 15 lb (400 sq ft)) | 1 | |
| Asphalt shingles (bundle 3-tab, 26 shingles, incl. starter) | 6 | |
| Drip edge (10 ft piece) | 8 | |
| Door hinges (heavy T-strap, 8 in strap or longer, galvanized) (each) | 6 | |
| Door handle and latch (pull handle + gate latch or hasp with a padlock loop) (set) | 1 | |
| Carriage bolts 1/4 x 2 in, galvanized, with washers and nuts (3 per hinge strap) (each) | 18 | |
| Aluminum threshold cap (angle about 1 x 1 1/2 in), 6 ft piece (each) | 1 | |
| Door sweep, brush type, 36 in, with its screws (cut to 2′ 11 1/16″ for the active leaf and 2′ 10 13/16″ for the fixed leaf) (each) | 2 | |
| Door hold-open hook and eye, 6 in galvanized (left leaf) (each) | 1 | |
| Door hold-open hook and eye, 4 in galvanized (right leaf) (each) | 1 | |
| Barrel bolts for the fixed leaf (3 in, 1 1/2 in wide or narrower, to fit on the astragal) (each) | 2 | |
| Prefabricated window, 36 x 36 in rough opening (each) | 1 | |
| Framing nails 3 1/2 in (16d) hot-dip galvanized (about 758 nails + 10 %) (lb) | 21 | |
| Siding nails 2 1/2 in (8d) hot-dip galvanized (lb) | 13 | |
| Sheathing nails 2 1/2 in (8d) for OSB (lb) | 5 | |
| Roofing nails 1 1/4 in galvanized (lb) | 5 | |
| Deck screws 2 in (or 6d ring-shank nails) (lb) | 3 | |
| Construction adhesive, 10 oz tubes (each) | 7 | |
| Hurricane ties (rafter to plate), H2.5A type or equal, 10 nails each (each) | 16 | |
| Framing angles for the end rafters at the 4 corners (A35 type or equal, 12 nails each) (each) | 4 | |
| Twist strap ties for the lean-to wall corners: 18 ga galvanized, about 1 1/4 in wide x 12 in long, twisted 90 deg in the middle (a Simpson LTS12 or equal) (each) | 4 | |
| Ground anchors, screw-in auger type, 30 in or longer, galvanized, each with a galvanized steel strap (an empty shed on skids slides in a strong gust: Anchor the shed) (each) | 6 | |
| Structural wood screws 1 1/2 in, exterior (anchor straps: 4 into the skid and 2 into the rim per anchor) (each) | 36 | |
| Crushed stone 3/4 in for the pad (loose, before tamping) (cu yd) | 3.3 | |
| Pressure-treated 4×6 x 8 ft, ground contact (UC4A or higher), for the gravel pad frame (each) | 1 | |
| Pressure-treated 4×6 x 16 ft, ground contact (UC4A or higher), for the gravel pad frame (each) | 4 | |
| Rebar stakes 1/2 in (#4) x 24 in, for the pad frame (each) | 27 | |
| Galvanized timber spikes 3/8 in x 10 in for the pad frame corners (2 per corner) (each) | 16 | |
| Exterior paint and primer in one (2 coats, about 515 sq ft each) (gallon) | 4 | |
| Exterior caulk (tube) | 3 | |
| Roofing cap nails 1 in (felt) (lb) | 1 | |
| Wood shims (door and window) (bundle) | 1 | |
| Roofing cement, 10 oz tubes (each) | 2 | |
| Exterior screws 1 1/4 in (door frame to T1-11) (lb) | 1 | |
| Exterior screws 3 in (hinge T-parts through the casing into the framing; wall corners where a hammer will not swing); reserve 28 more for stop posts and brace tops (box) | 1 | |
| Structural wood screws 5 in, exterior (tight wall corners, driven from outside) (each) | 18 | |
| Connector nails 1 1/2 in (hurricane ties and straps) (lb) | 3 | |
| Flashing tape 4 in (window opening) (roll) | 1 | |
| Drip cap (Z-flashing) over the window and door head casings, 10 ft (each) | 2 | |
| Staples 3/8 in for the staple gun (insect screen) (box) | 1 | |
| Insect screen for vent holes/gaps, 2 ft x 25 ft (roll) | 1 | |
| Temporary braces 2×4 x 12 ft (reuse later): 2 plumb braces per wall section and the diagonal each section is squared with; keep the front braces and a back brace until the adjoining rafters are fastened (each) | 12 | |
| 2×4 x 10 ft for two 4 ft stop posts (reuse on the sides) (each) | 1 | |
| 2×4 x 12 ft for the temporary rafter feed rail (each) | 1 | |
| 2×4 x 8 ft for two 24 in rail cleats and four 10 in saddle blocks (each) | 1 | |
| Structural wood screws 3 in for the feed rail and cleats (each) | 12 | |
| Wood screws 2 1/2 in for the removable feed saddle (each) | 6 | |
| 2×4 x 8 ft for the flat decking seam blocks (step Floor decking) (each) | 2 | |
| 2×4 x 8 ft for 8 stakes 24 in, pointed (one per plumb brace) (each) | 3 | |
| 2×4 x 8 ft for 8 deck cleats 12 in (one per plumb brace once it moves inside) (each) | 2 | |
| Ramp hook-and-eye latches, 4 in galvanized (each) | 2 | |
| Ramp screws 3 in exterior deck screws (2 per board per stringer) (each) | 141 | |
| Structural screws 3 in, 1/4 in exterior (ramp ledger into the rim joist and the skid) (each) | 12 | |
| Anti-slip grit tape for the ramp boards, 2 in x 15 ft (one strip along each board) (roll) | 4 |
Floor and gravel pad
Four 12 ft treated 4×4 skids run along the width of the shed. The floor has ten 9 ft 9 in joists between two 12 ft rims. Keep the two extra 2×4 x 8 ft boards for the flat blocks under the final decking seam. They are part of the floor order, even though they are not full-length joists.
The floor buys five 4×8 sheets. Two full-width rows of tongue and groove plywood cover about 7 ft 11 in after the tongues enter their grooves; the final row is ripped to the measured width. Keep the factory groove on that last row. The cutting map pairs only the pieces that can share a sheet, so do not reduce the order by dividing floor area by 32.
The gravel frame uses four 16 ft treated 4×6 timbers and one 8 ft timber. Its longest cut is the back piece, 14 ft 11 in. The gravel and the extension beneath the ramp are included in the 3.3 cubic yards of loose stone.
Stakes pin each frame piece, including the short pieces beside the ramp landing. Check your local permit office before choosing the final site and base.
Walls, siding and temporary lumber
The permanent wall framing uses fourteen 8 ft, twenty-one 10 ft, seven 12 ft and seven 14 ft 2×4 boards. The yard order adds the temporary and floor stock to those counts. Do not order only the permanent-wall subtotal.
Front studs are 8 ft 8 5/8 in; back studs are 6 ft 3 1/2 in. The two side walls share their end lengths but use different intermediate lengths. Label each side stud with its wall and position. The sloped plate has its own marking column because a distance measured along the slope differs from the same distance along the bottom plate.
The 72 in door header has two 6 ft 3 in 2×8 plies, both cut from one 14 ft board, with a single plywood filler between them. The rear window uses two 3 ft 3 in 2×6 plies. Buy the 1/2 in plywood with the walls, cut the header fillers first, then save the rest for the soffits.
Siding totals five 4×10 panels, two 4×9 panels and seven 4×8 panels. Two of the 4×8 sheets supply the door leaves. Order the tall panels before framing. A 4×10 panel can replace a 4×9 by cutting it to the listed height; joining two short sheets introduces a joint this plan does not detail.
Roof boards and connectors
Ten bearing rafters span the room at 16 in on center; two unnotched fly rafters form the rake edges. Each needs a sound 12 ft 2×6 board. The finished board length is 11 ft 10 7/8 in, so there is little spare length for a damaged end. Dry-fit one pattern on both walls before copying it.
The eight inside rafters have a hurricane tie at each wall, sixteen ties in all. At the four corners the side-wall framing occupies the inside plate face, so the two end rafters use four framing angles. Four twist straps join the sloped-wall corners. Connector nails are listed separately from framing nails.
Roof sheathing uses six sheets of 7/16 in OSB. Follow the cutting map so every end joint has a rafter beneath it. The felt is laid in a double layer at this slope. Read the shingle manufacturer’s wrapper and check your local permit office for local snow and underlayment requirements.
Crew, tools and delivery
Allow two people for the bare wall lifts and three for setting rafters. Keep the temporary braces, stakes and stop posts with their assigned steps. The roof sequence also calls for two guarded eave platforms, a low adjustable platform inside, two bar clamps with 12 in clear jaw opening and a separate guarded rolling tower beside each rake as it is worked. Arrange firm, level footing before starting.
Leave a straight 15 ft working lane behind the low back wall, with room outside both eaves and along both sides for the platforms. A fenced site needs this check before the gravel pad is dug. Keep delivery stock clear of that lane through roof framing.
The longest stock on the order is 16 ft. Ask the yard about delivery and keep the lumber supported off the ground and covered. Wet untreated framing decays faster (USDA Wood Handbook). Use the listed galvanized fasteners and treatment-compatible screws for the treated pieces.
Keep the cutting groups together
Stack the rafter boards separately from the shorter blocking stock. The main rafters need both birdsmouths, while the two fly rafters keep their bottom edges whole. Mark the pattern’s front end before tracing the next board so its two seats do not get reversed.
Keep the door trim, window trim and corner boards in their own stack too. The rake fascia length is measured tip to tip across its plumb ends, while a sloped corner-trim table gives both long and short points. Read the part name before transferring a length to the board.
The floor seam blocks, rail cleats and saddle pieces share the same nominal 2×4 size but have different jobs. Bag the saddle screws separately and leave each temporary board tagged until that step is complete. The temporary stock is useful again later; it is not a spare allowance for replacing rejected wall studs.
Get the full plan
The 10×12 lean-to shed plan includes the printable shopping and cut lists, numbered stud tables, sheet maps, door details and ramp drawing. Open the free 10×12 lean-to preview to check the format.
For the same footprint with a different roof, compare the 10×12 gable plan and 10×12 hip roof plan. The 10×10 lean-to is narrower, and the 10×16 lean-to adds width. Browse all sizes on the lean-to plans page, or read the material list guide before placing the order.
Frequently asked questions
How much framing lumber does the 10×12 lean-to use?
The permanent walls use 49 framing 2×4 boards. The yard order below also includes the temporary braces, stop posts, rail, saddle, stakes, deck cleats and floor seam blocks. Keep those extra boards on the order; wall and roof work needs them before the shed is finished.
What size rafters are on the 10×12 lean-to list?
Ten bearing rafters and two unnotched fly rafters use 2×6 x 12 ft stock. Each board is cut to 11 ft 10 7/8 in tip to tip. The bearing rafters have a seat over each wall. Check your local permit office for your snow load before ordering.
How many plywood and siding sheets are needed?
The list buys 5 floor sheets of 3/4 in T&G plywood, 6 roof sheets of 7/16 in OSB, 14 siding sheets of 5/8 in T1-11 including the two door leaves, and one 1/2 in plywood sheet for header fillers and soffit strips.
How many bundles of shingles does the roof take?
Six bundles of 3-tab shingles include the starter course. The list also buys one roll of 15 lb felt for the double underlayment and eight 10 ft lengths of drip edge. Follow your roofing product's instructions and check your local permit office.
Is there a printable 10×12 lean-to material list?
Yes. The full 10×12 lean-to shed plan includes a printable yard order, shopping lists by stage, cut lengths and cutting maps. The free preview shows the drawing format and build stages.
Shed building guides
- 6×12 Firewood Shed Material List: Lumber, Slats, Hardware
- 4×10 Firewood Shed Material List: Lumber, Slats, Hardware
- 8×16 Firewood Shed Material List: Lumber, Slats, Hardware
- 4×8 Firewood Shed Material List: Lumber, Slats, Hardware
- 4×16 Firewood Shed Material List: Lumber, Slats, Hardware
- 4×12 Firewood Shed Material List: Lumber, Slats, Hardware